Public Key authentication is one of the safest ways to log into a server. Instead of using a plain text password, Public Key authentication uses a Public/Private key pair to identify authorized users. The target server stores the Public Key while the user holds the Private Key.
Step 1: Generating Public / Private Keys with PuTTYGen
Download PuTTYgen and run it. You will need to
- 1. Generate Keys
- 2. Copy/Save your Public Key (to clipboard or file)
- 3. Save your private Key (example: private.ppk)

Note: the “Save public key” will not save your Public Key in a format compatible with Linux ‘authorized_keys’
Step 2: Install Public Key on Linux Server
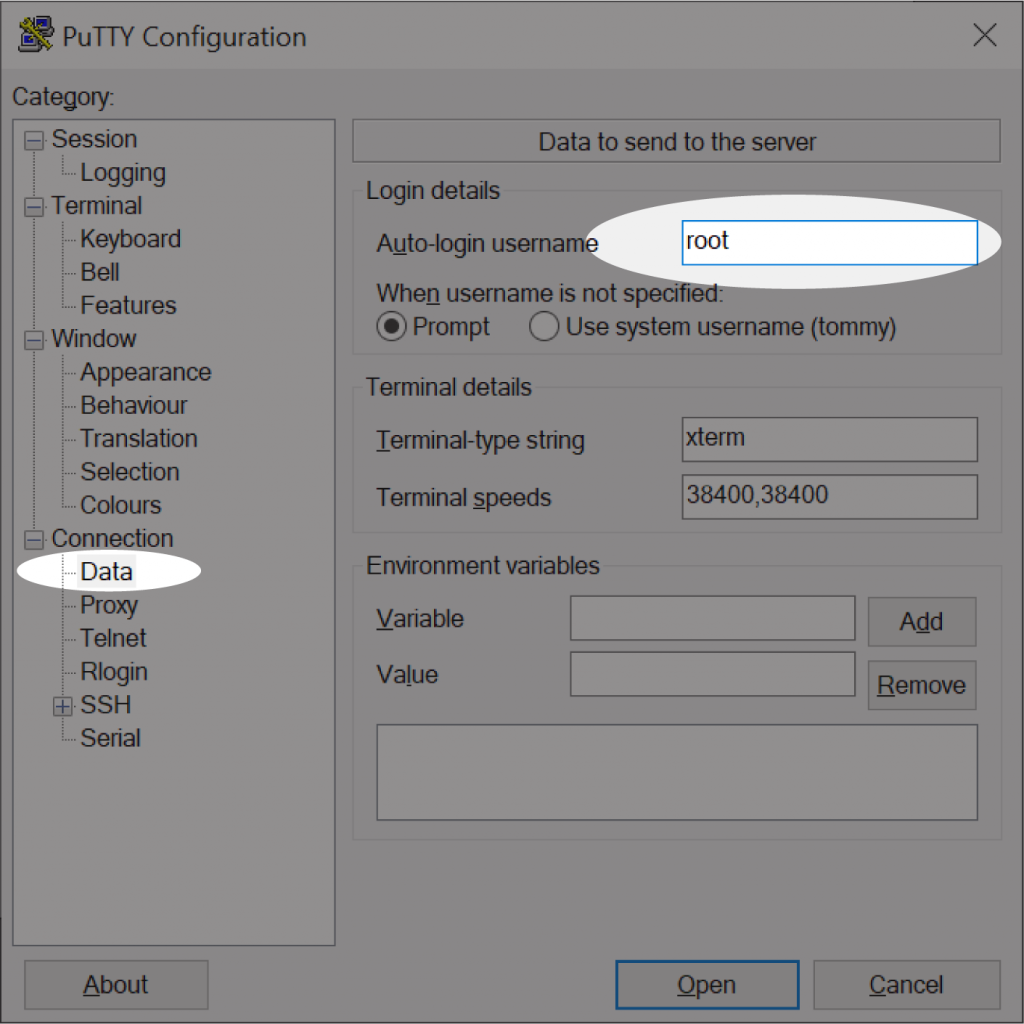
Log on to your target Linux server. Whatever user you login with will be the user you need to specify when you login automatically. In this case, I will use root.
Once you are logged in, use your preferred text editor (nano/pico/vi) and open ~/.ssh/authorized_keys. If this file doesn’t exist, create it.
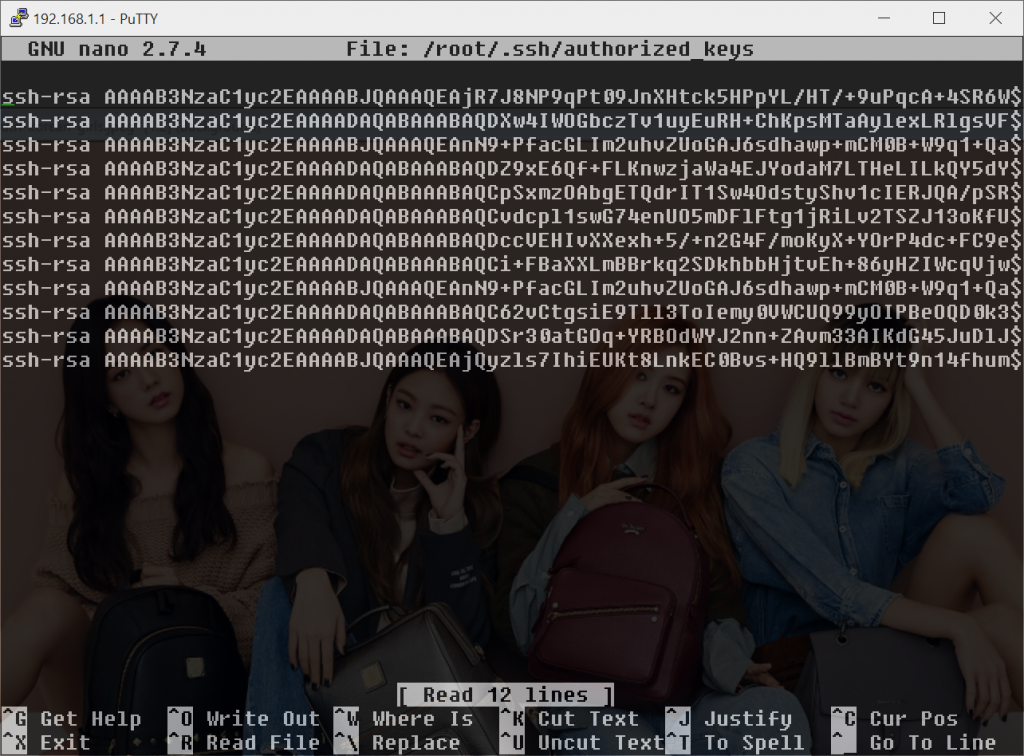
Paste your Public Key at the end of the file. Your Public Key should be one long line.
Step 3: Setting up PuTTY
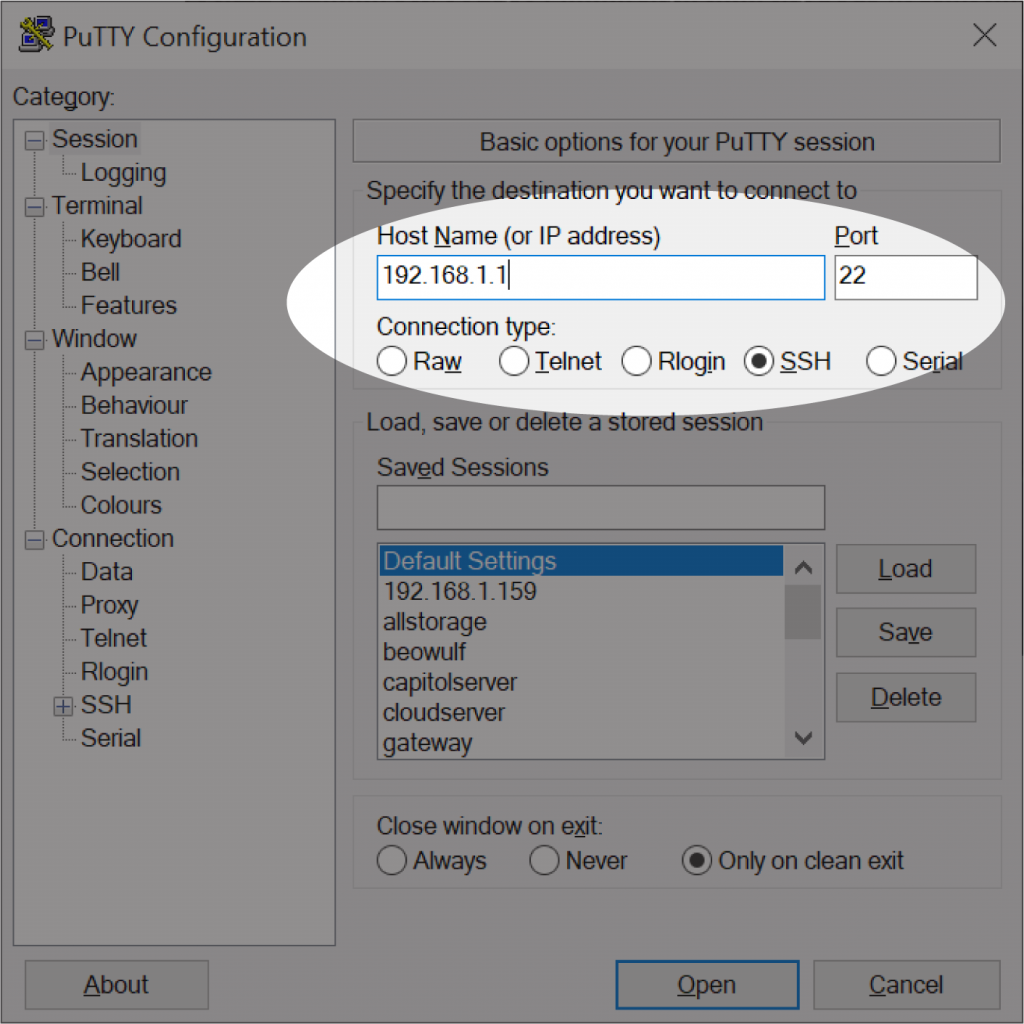
Configure your Host and Port
Specify your Login Username
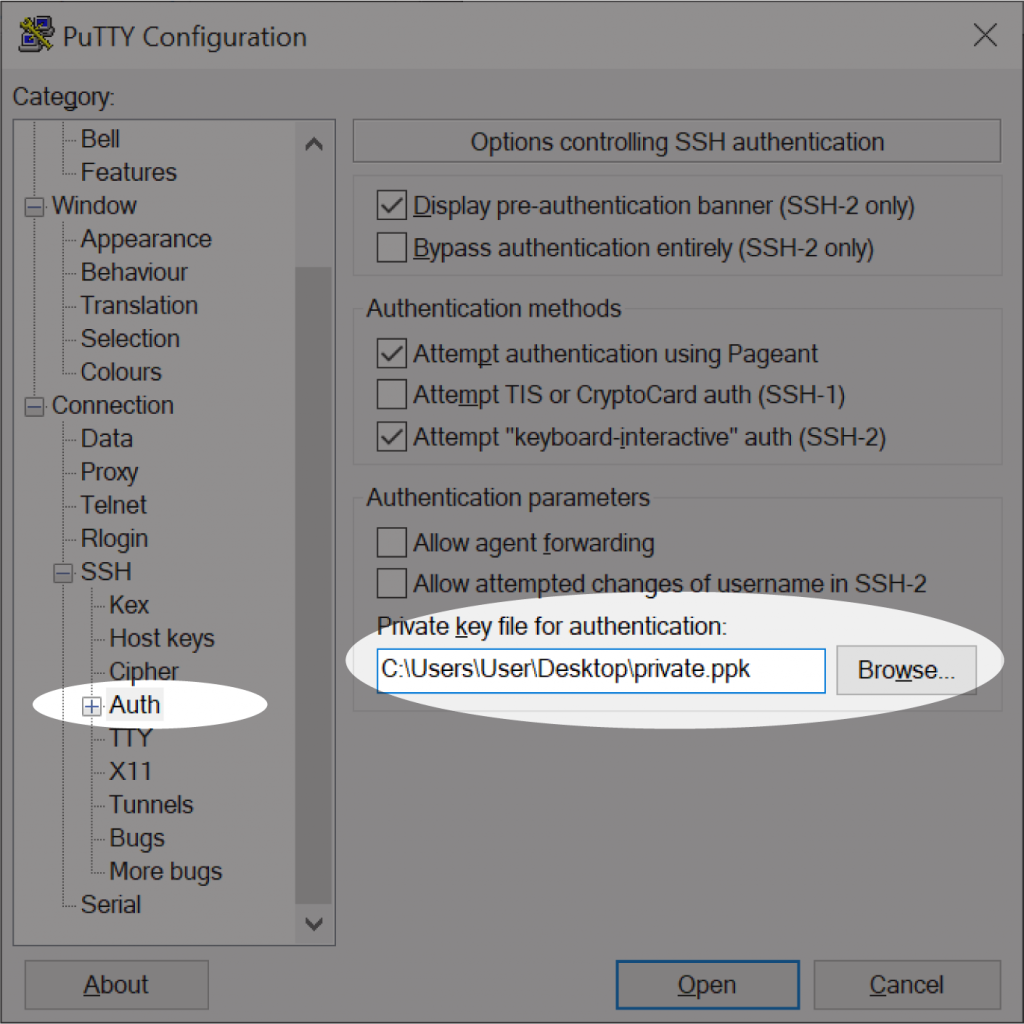
Specify your saved Private Key file
Save the Session and click ‘Open’
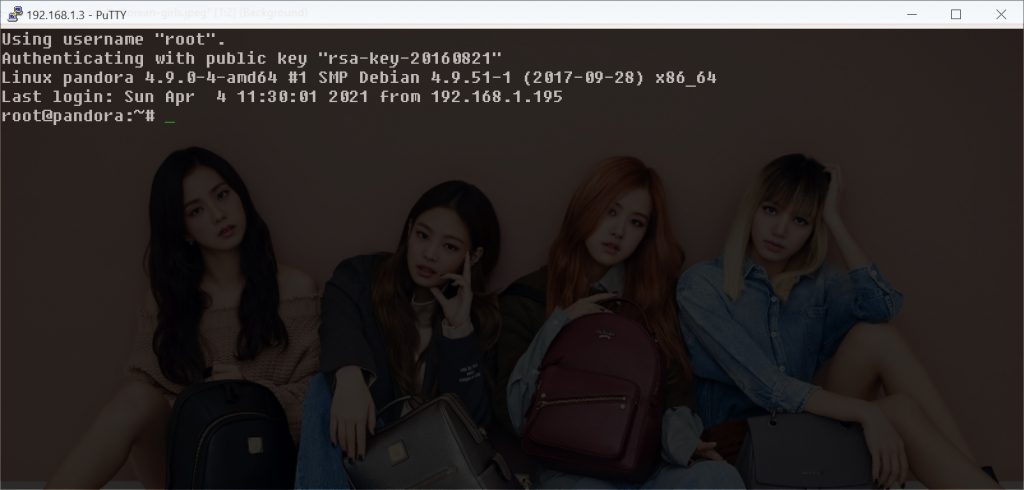
Once you have tested to make sure everything works, pin PuTTY to your taskbar. Right clicking on the PuTTY icon will pull up your recent/saved connections.


