
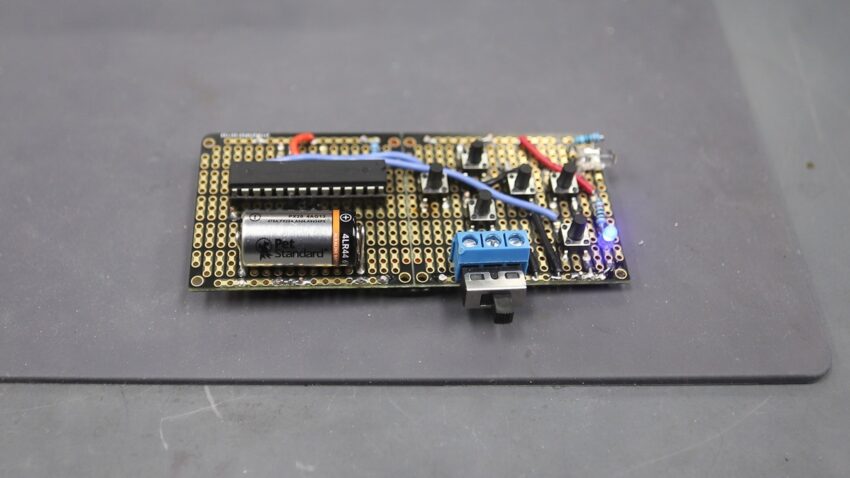
I’ve done a few projects on the 1st Generation Apple TV. When I first got one, I didn’t have the remote for it. I built one from an Arduino and a breadboard. It was crude, it was tethered to USB power, but it worked. Version 2.0 will be better.
Materials Needed
- Arduino or similar microcontroller
- IR LED (transmitter)
- (6) Buttons
- (1) 220 ohm resistor
- Battery/Power source
- Breadboard
- Jumper wires
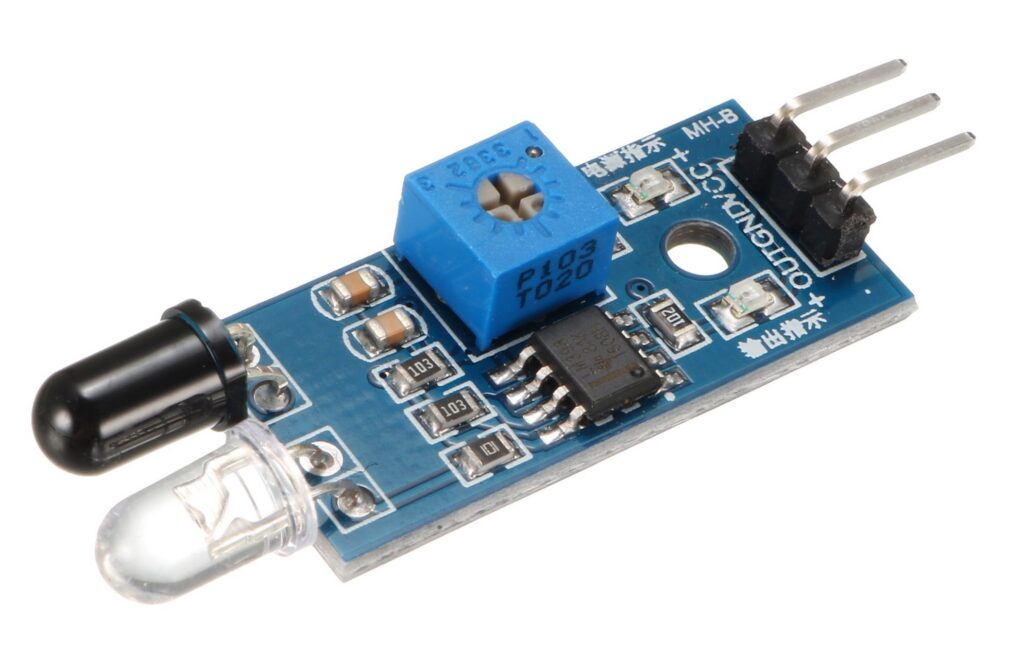
If you’ve ever bought an ‘Arduino Starter Kit’, you should have most or all of these components, save for a couple buttons. I salvaged the IR transmitter from an “Obstacle Avoidance Sensor.” The clear LED is the transmitter.
I would imagine you could salvage the transmitter from any remote control and have a good chance of making it work.
Wiring
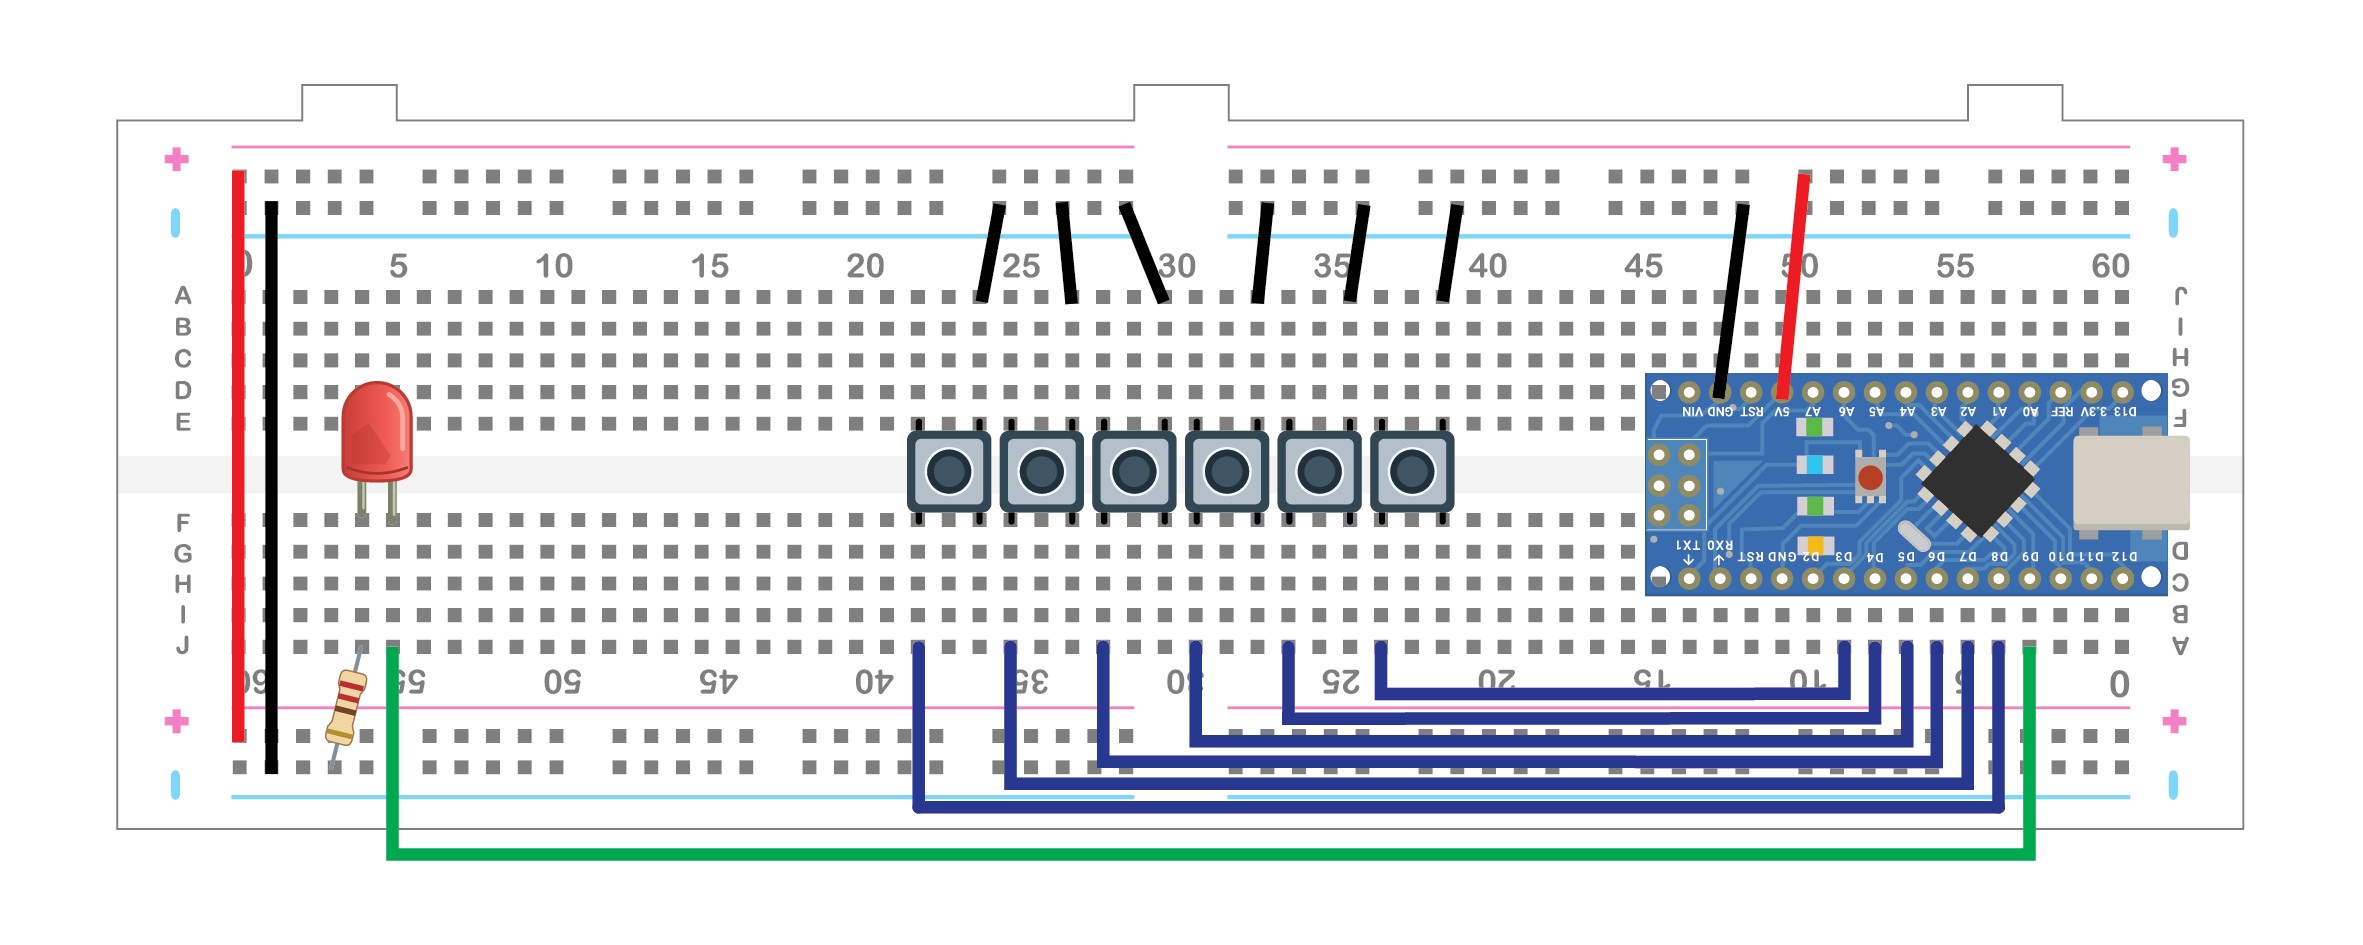
This is actually a very simple design. You’ll need 6 buttons — each will need one side connected to ground and the other side connected to a pin on the Arduino Nano. The Nano pins will be using their internal pullups.
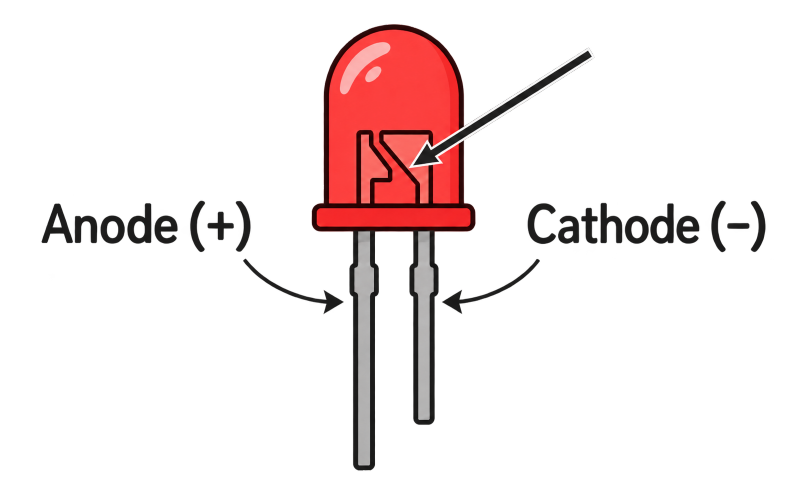
The Anode (+) of the IR LED will be connected to pin D9 and the Cathode (-) will connect to ground via a 220ohm resister.
The Anode usually has a longer leg, but if your stealing this from a remote, there is no longer leg. The Anode, then, is usually the smaller electrode and the Cathode is the larger one.
The Battery
An Arduino Nano can accept 7-12v input because of its voltage regulator. A bare Atmega8/Atmega328 should be running on 5-6v. I thought about using 4 AAA batteries for 6V but that would have been too big. I went poking around my things and found some 6V batteries. These funny little batteries go in my old film camera, a Canon AE-1.
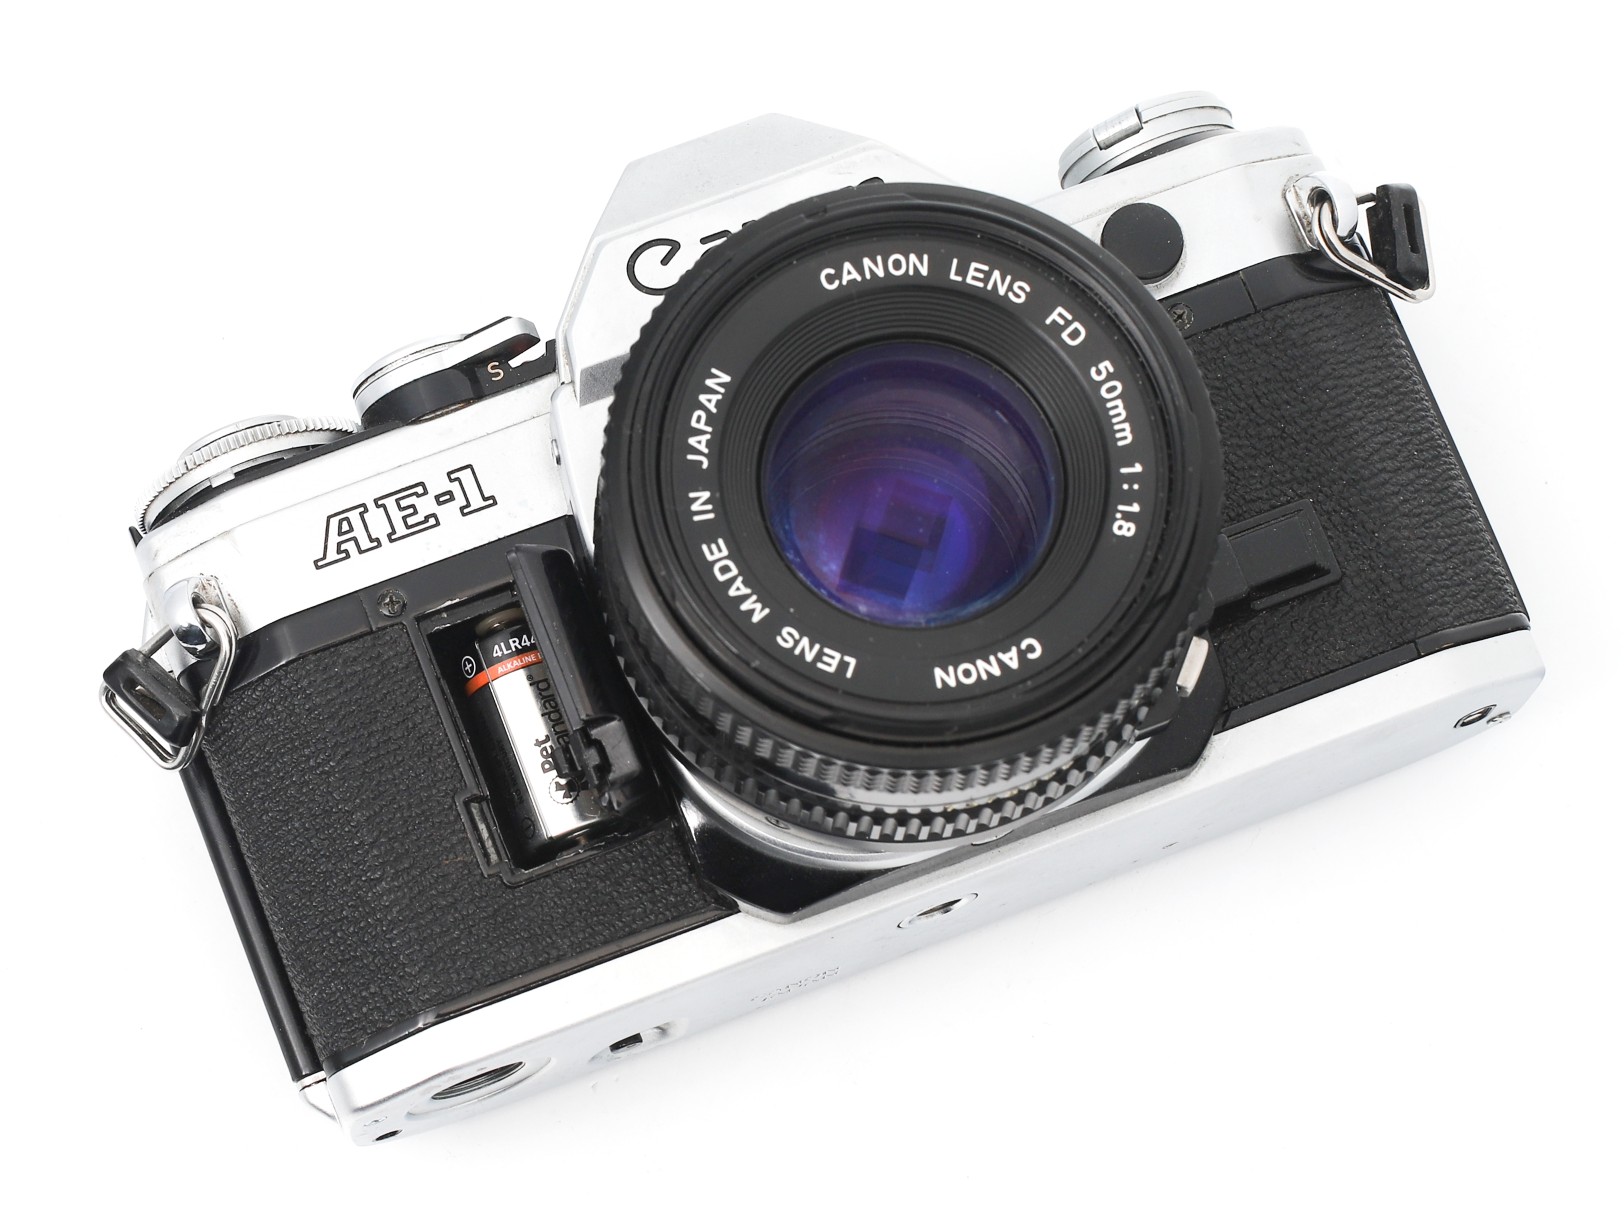
The battery is a 4LR44, which is just 4 LR44’s coin cell batteries stacked on top of each other. There’s no mAh rating. Even if it were only 100 mAh, that would be enough to power a micro controller for a few hours. These are also used in dog collars, which is why my batteries say ‘Pet Standard’ on them.
The Build
This isn’t a beauty contest. I’m not going for anything fancy, just something that doesn’t break when you look at it.
My first remote was done on a breadboard, but I soldered on a perfboard for Version 2.0. I’m using an Atmega8a instead of a Nano. An Atmega8a has an identical pinout to the Nano’s Atmega328. I have a lot of the Atmega8a’s — I use them because they are cheap. The code will work for either the Atmega8a or the Nano.
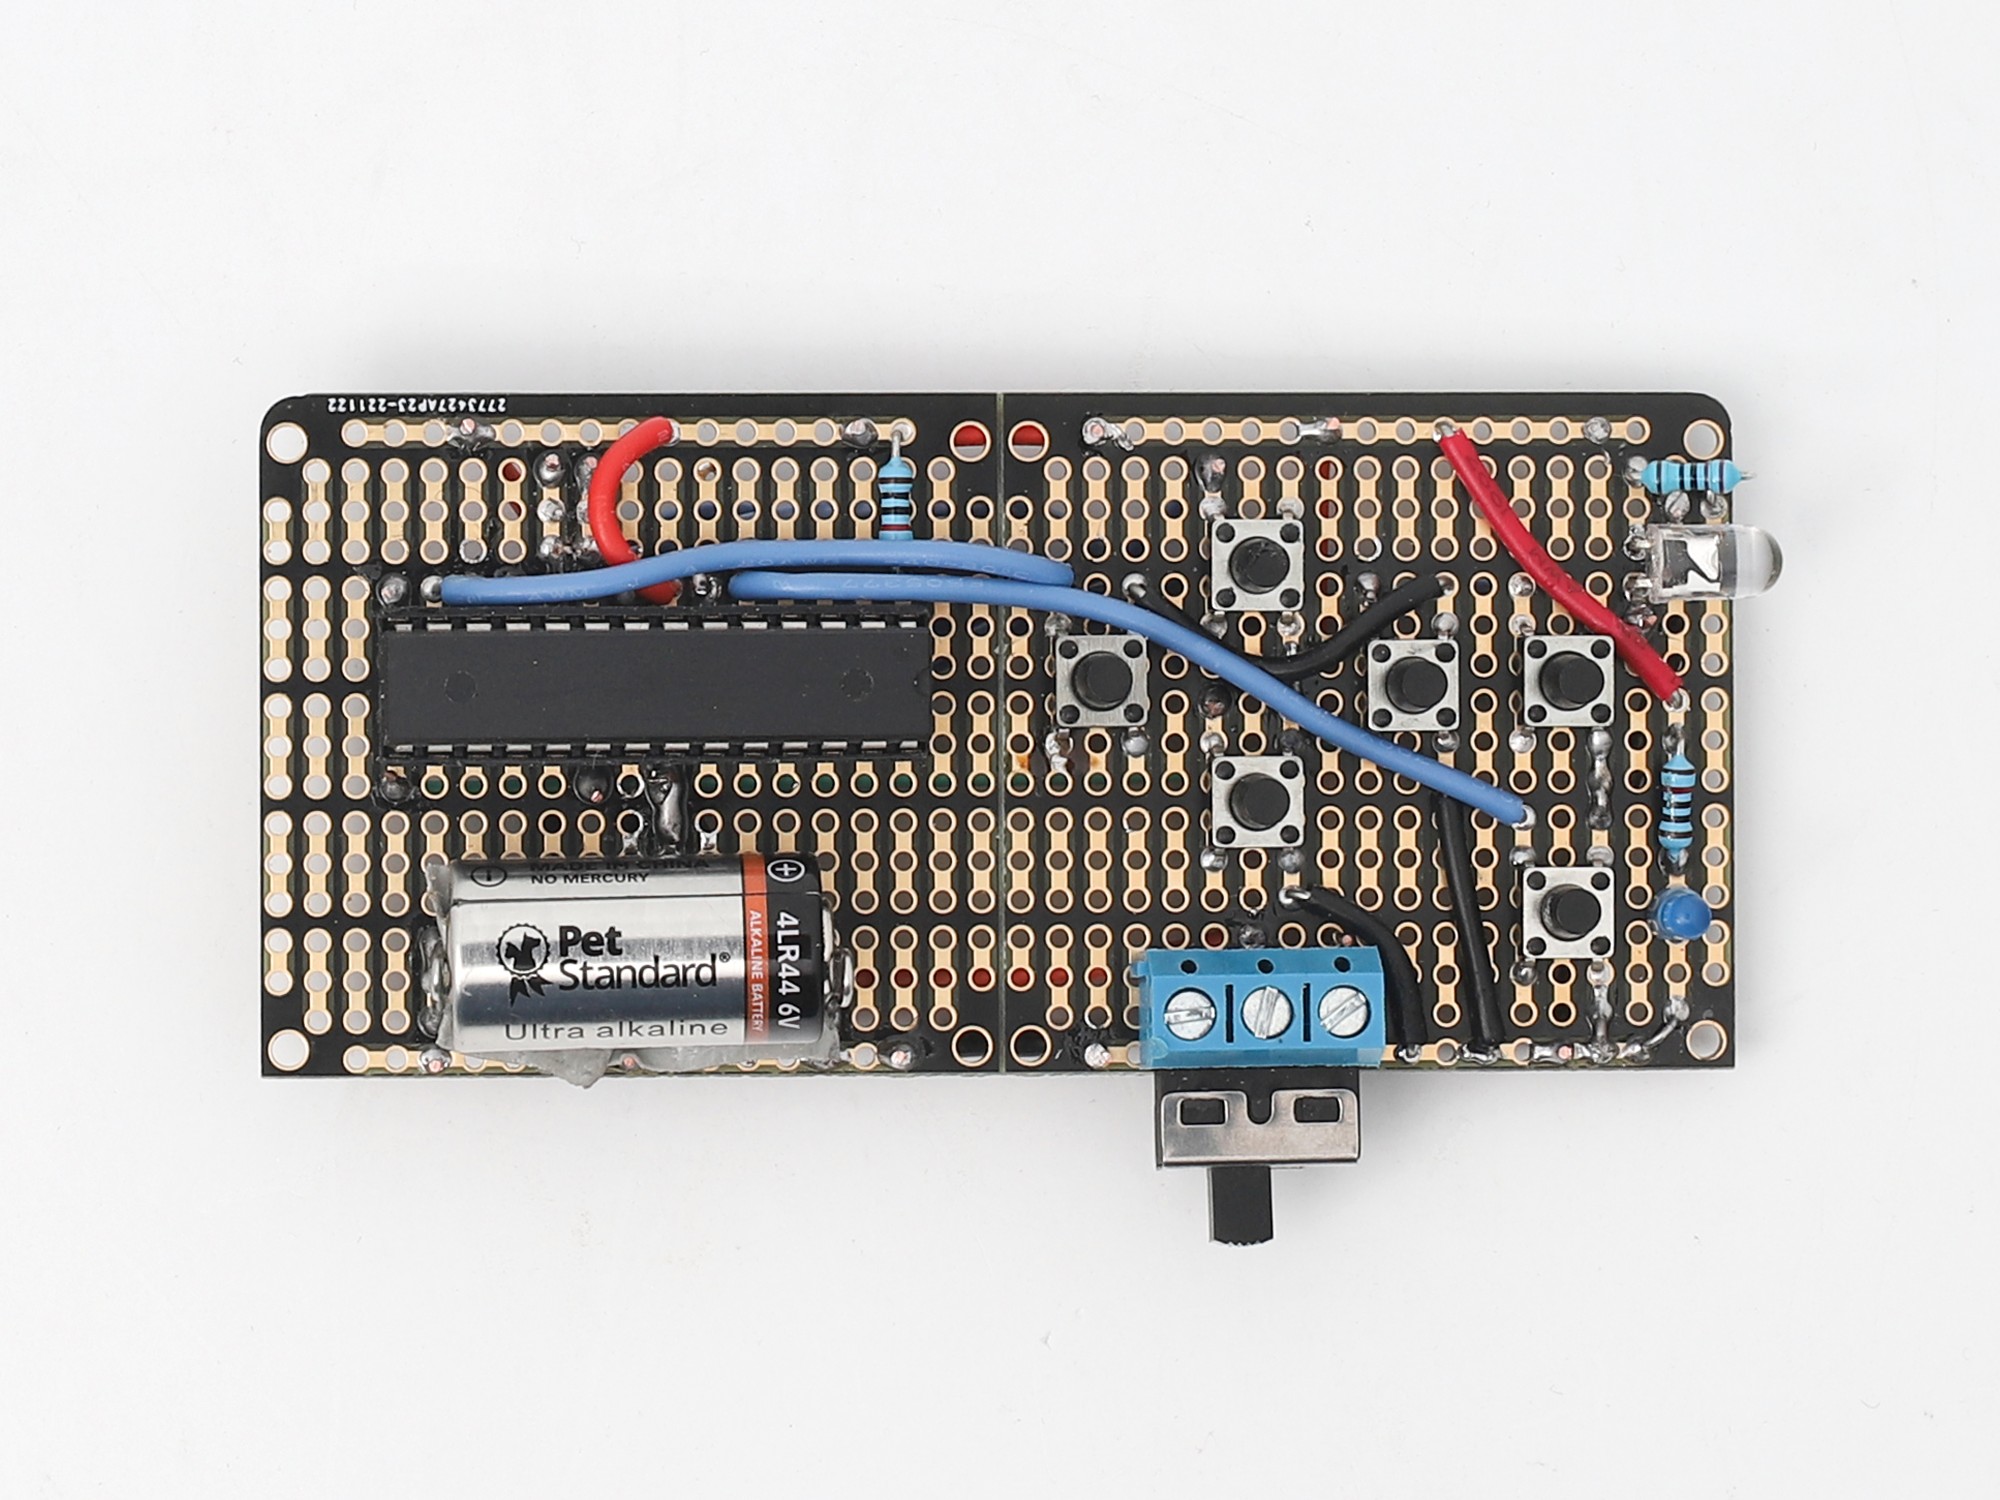
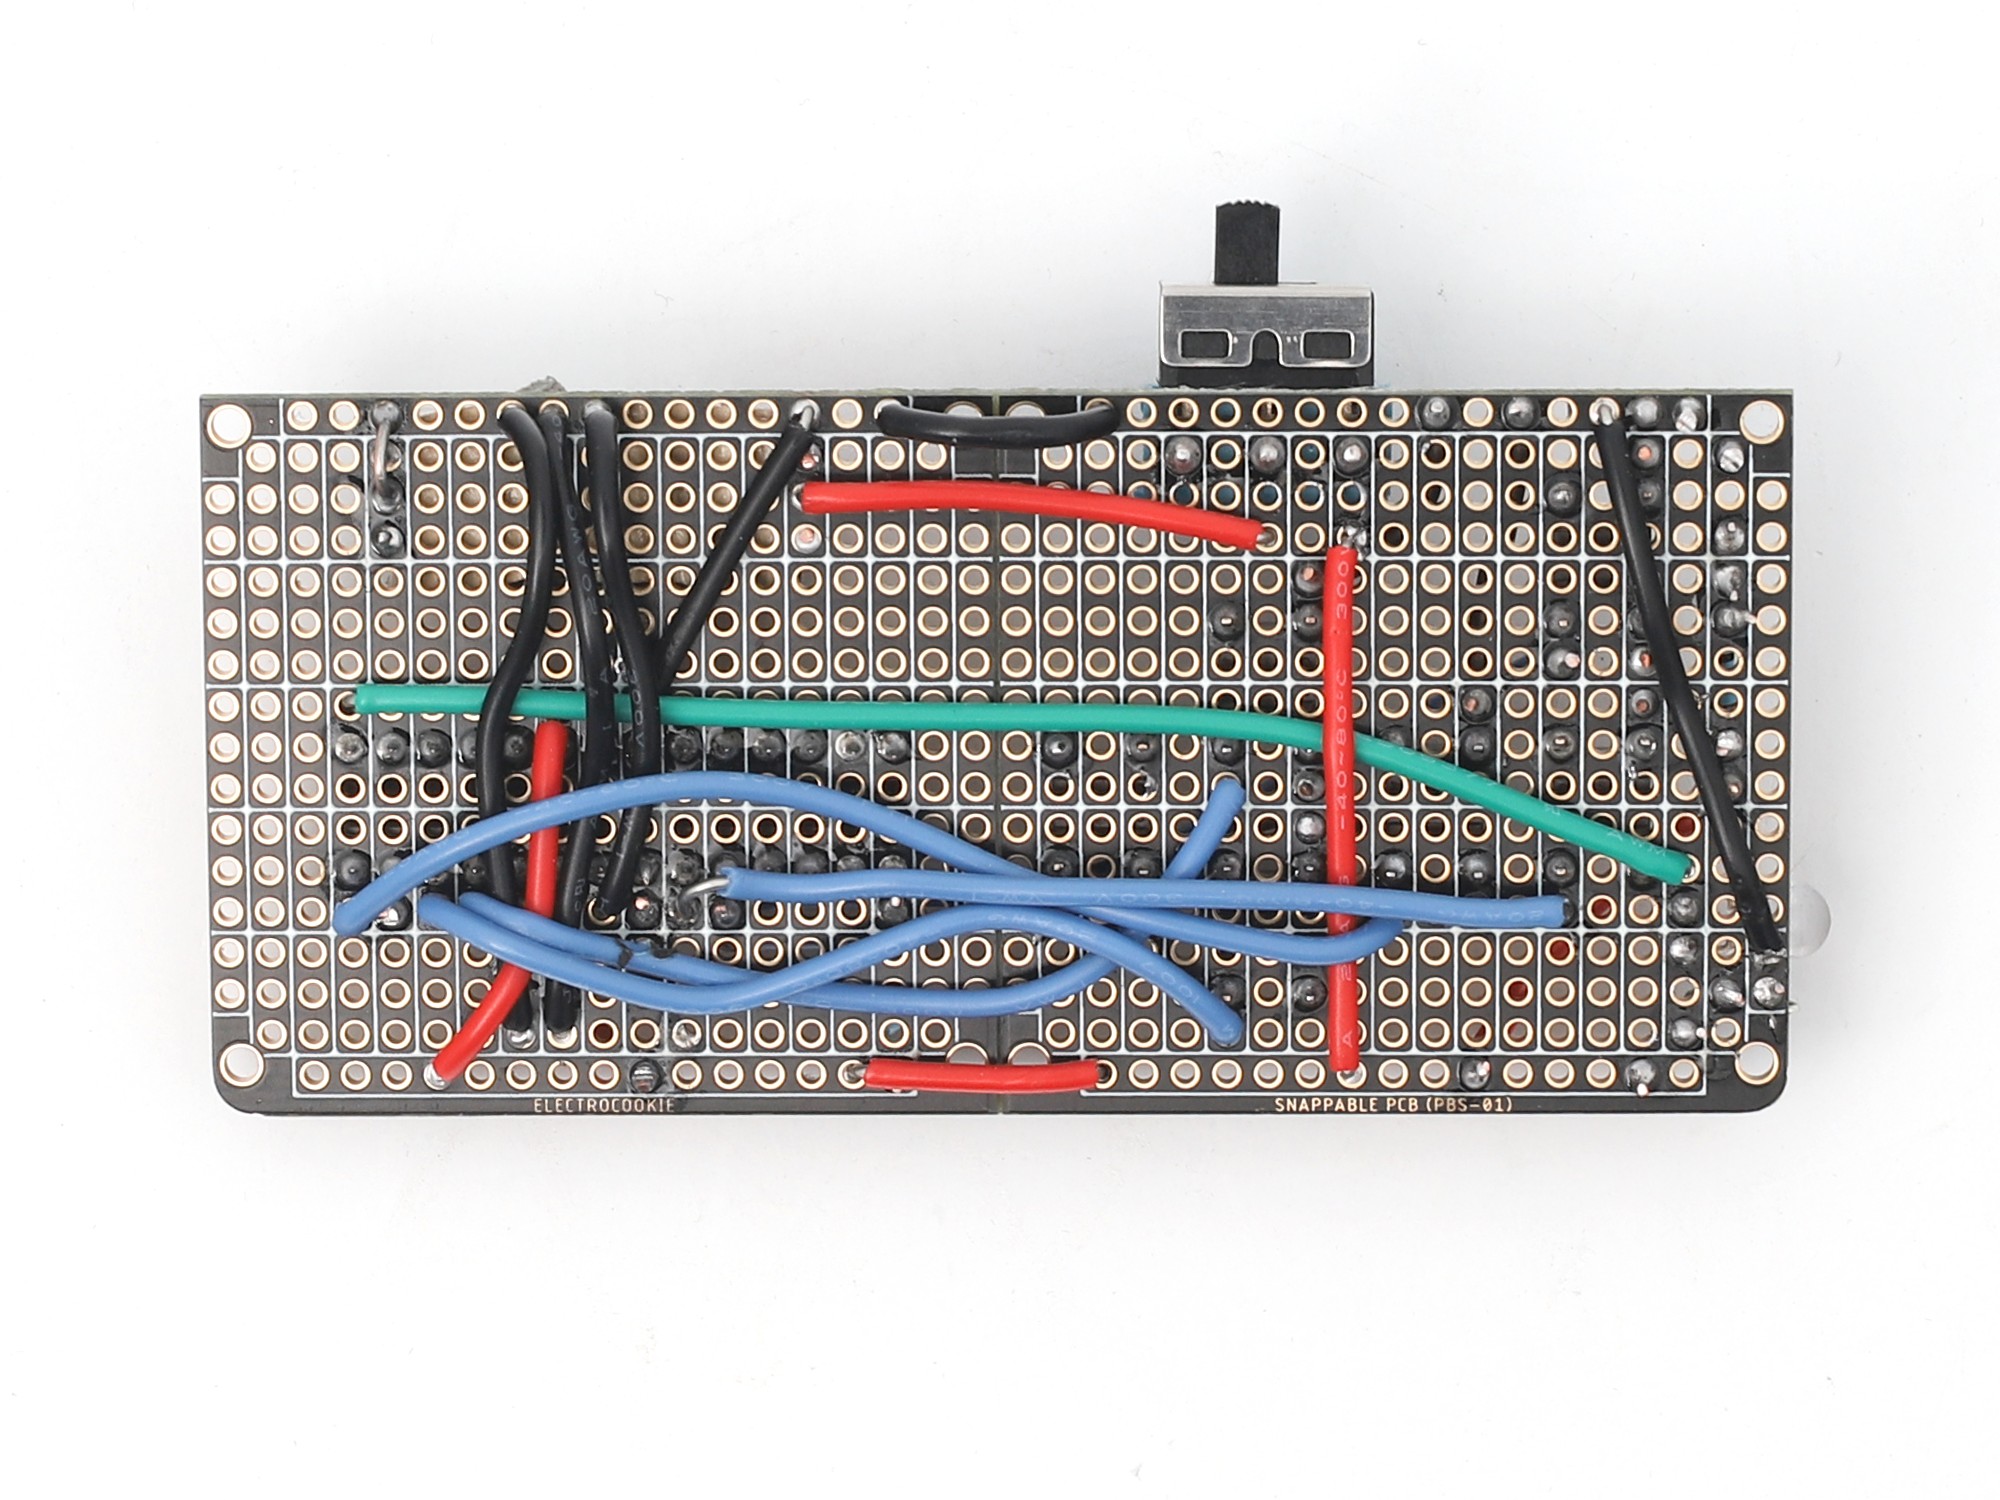
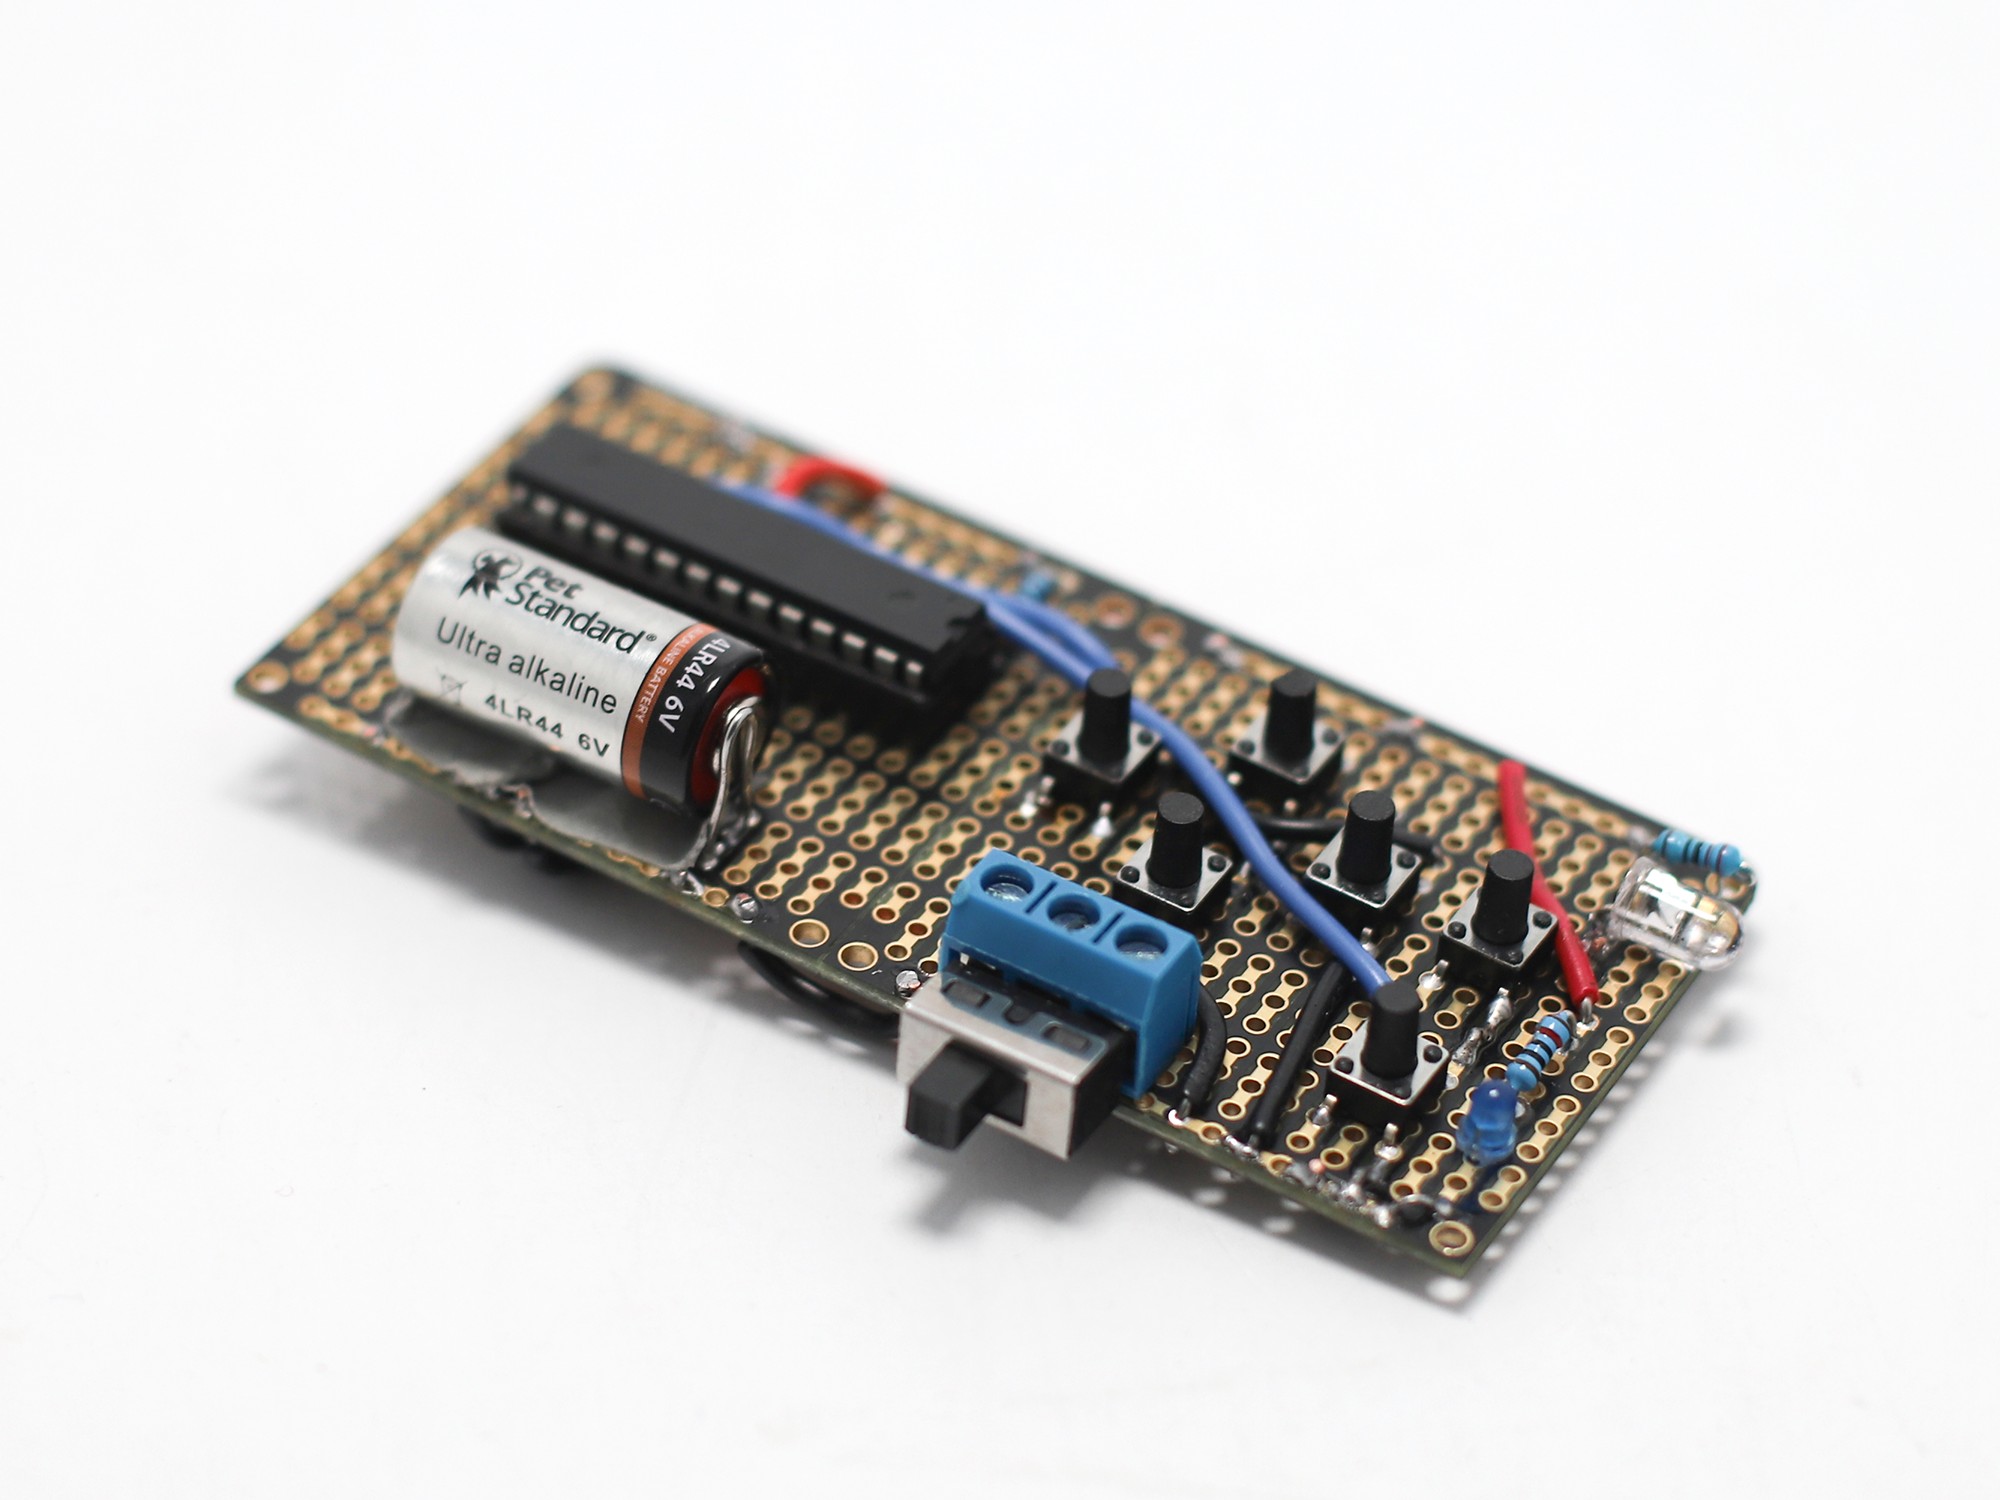
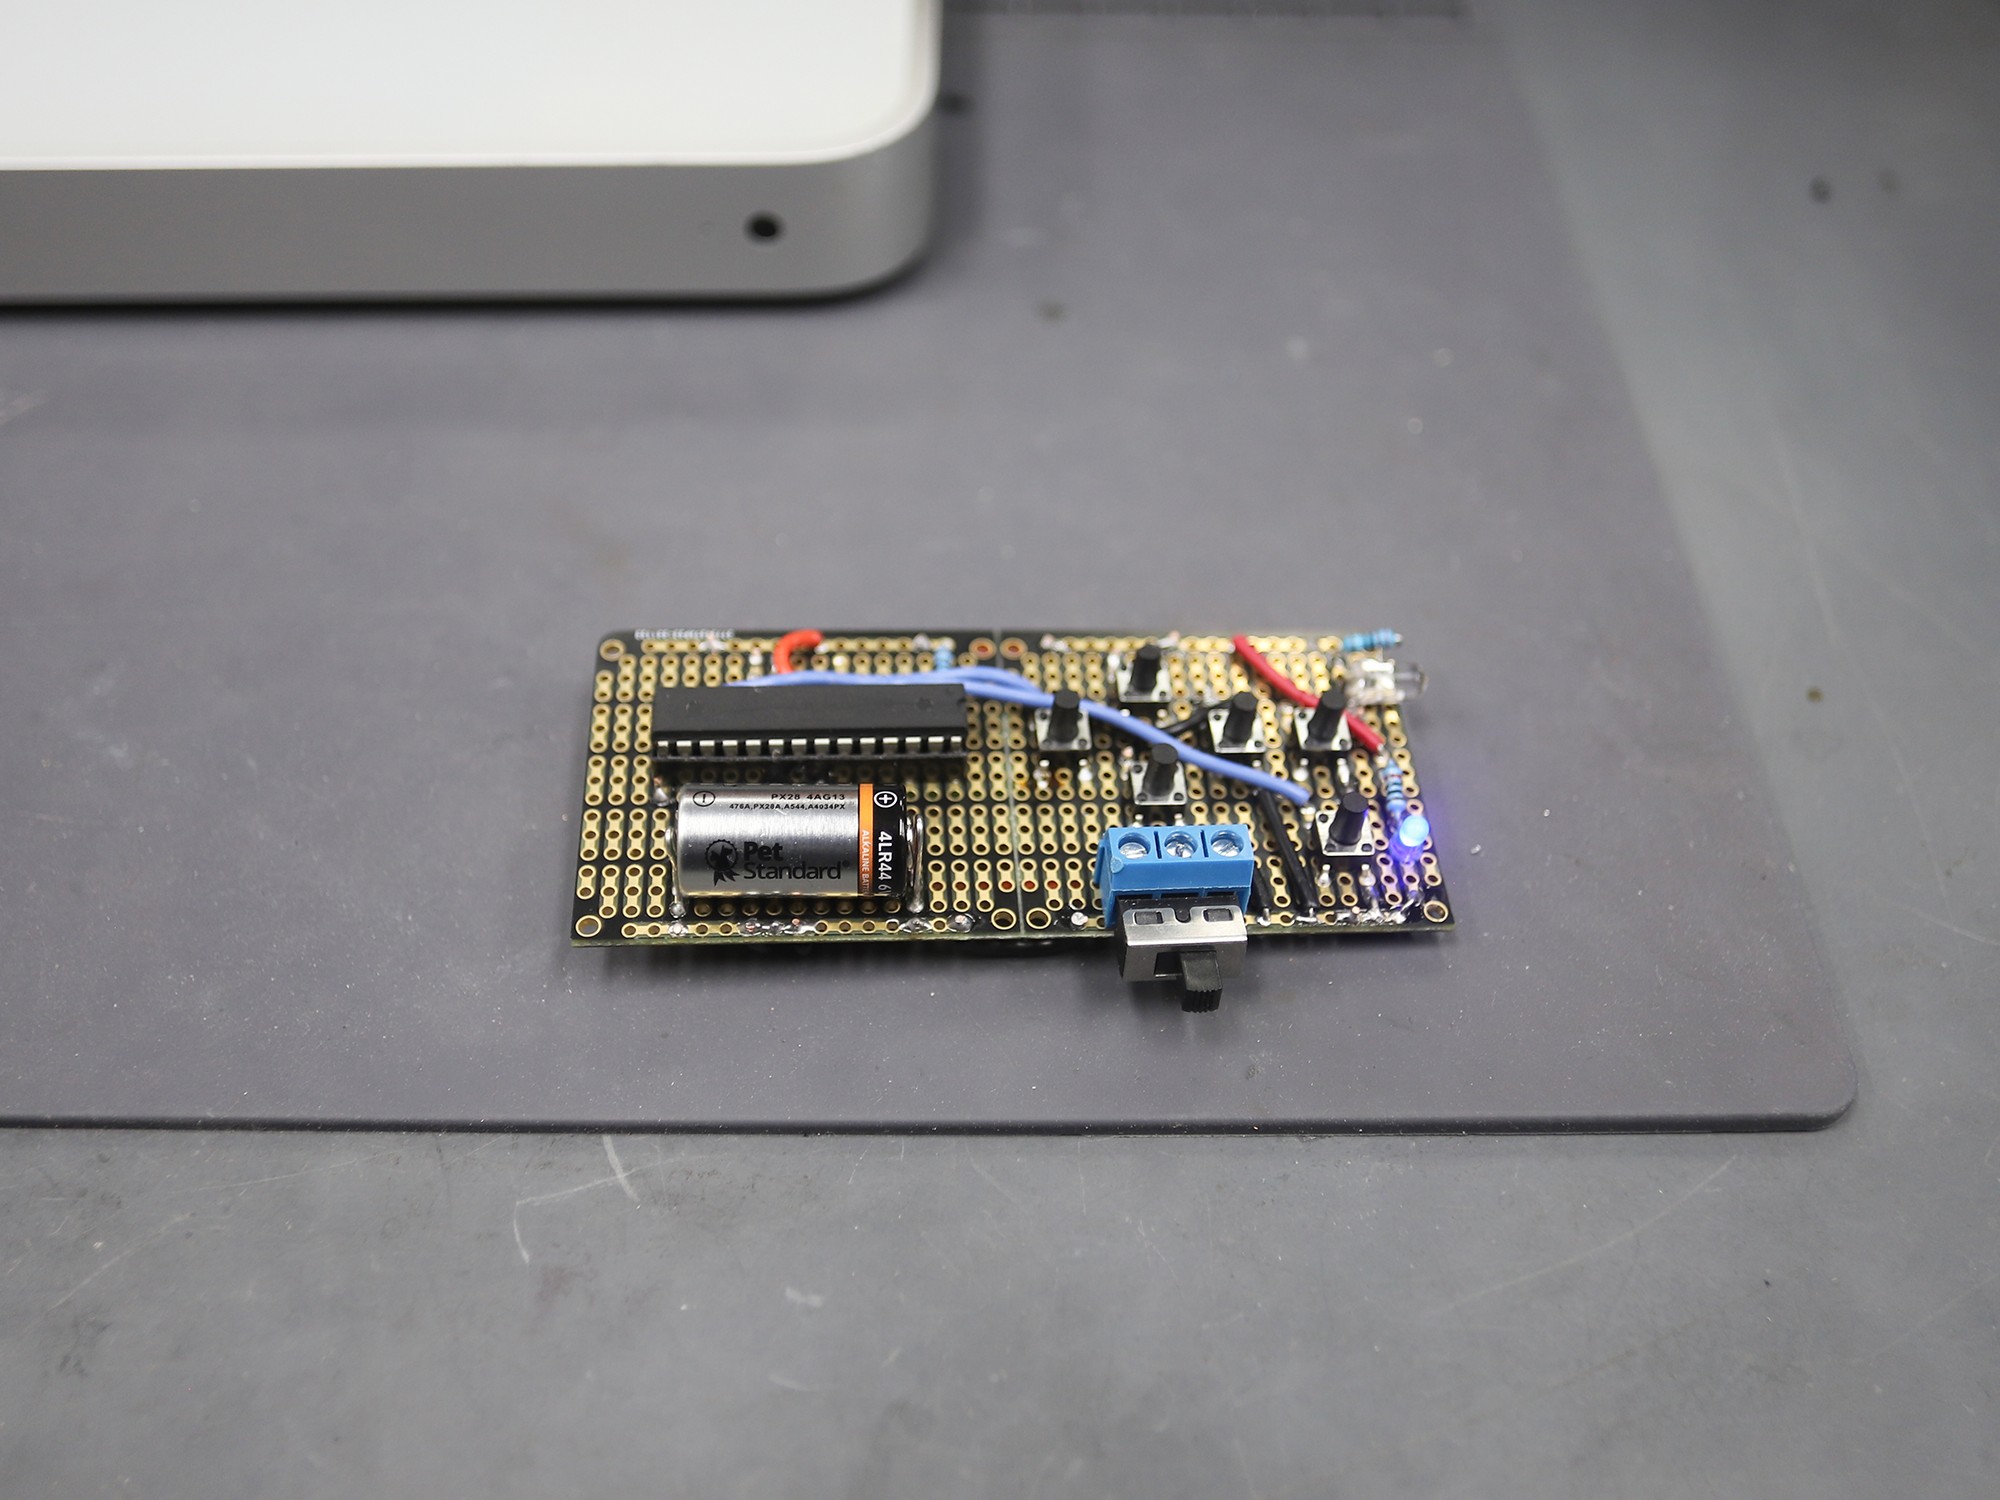
I added a power switch and a blue power LED. The battery “posts” is 20 gauge wire soldered to the perfboard. The battery is held in place with some double-sided tape. I program the Atmega8a with my TL866II programmer.
IR Codes
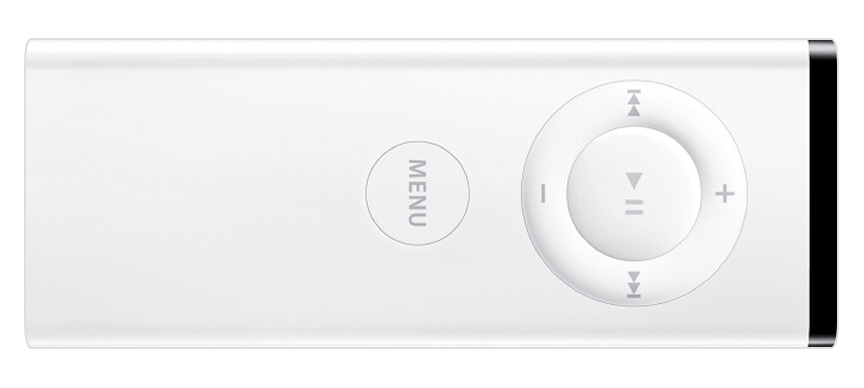
The original remote had six buttons. I was able to piece together from various sources what the IR Codes were
User Code: EE87

Data Codes are as follows:
039D MENU
0A9D +
0C9D -
099D REWIND
069D FASTFORWARD
059D PLAY/PAUSE
The user code and a command code are sent each time you press a button. I don’t know what the user code is — if it is the same for all of these remotes, or if there is some kind of range that Apple used. I’ve used EE87 and that has always worked for me.
The Code
The IrRemote library does a lot of the heavy lifting here. The IR codes in the program look “backwards” because the transmission needs to happen Least Significant Bit (LSB) first.
#define DISABLE_CODE_FOR_RECEIVER  // This sketch only sends IR signals.
#include <IRremote.hpp>

const uint8_t irLedPin = 9;  // Arduino D9 (PB1 on the ATmega8/ATmega328)
const unsigned long debounceDelayMs = 25;

struct Button {
  const uint8_t pin;
  const uint32_t code;
  bool pressed;
};

// IRremote sends the rightmost byte first. MENU sends EE, 87, 03, 9D.
Button buttons[] = {
  {3, 0x9D0387EE, false},  // MENU
  {8, 0x9D0A87EE, false},  // +
  {7, 0x9D0C87EE, false},  // -
  {6, 0x9D0987EE, false},  // REWIND
  {5, 0x9D0687EE, false},  // FAST FORWARD
  {4, 0x9D0587EE, false},  // PLAY/PAUSE
};

void setup() {
  IrSender.begin(irLedPin);  // IRremote generates the carrier in software on D9.

  for (const Button &button : buttons) {
    pinMode(button.pin, INPUT_PULLUP);  // Pressing the button connects the pin to GND.
  }
}

void loop() {
  for (Button &button : buttons) {
    const bool pressedNow = digitalRead(button.pin) == LOW;
    if (pressedNow == button.pressed) {
      continue;  // The button state hasn't changed.
    }

    // Switch contacts can bounce. Wait briefly, then check the pin again.
    delay(debounceDelayMs);
    if ((digitalRead(button.pin) == LOW) != pressedNow) {
      continue;  // The second reading didn't confirm the change.
    }

    button.pressed = pressedNow;
    if (button.pressed) {
      IrSender.sendNECRaw(button.code, 0);  // Send once on the confirmed press.
    }
  }
}
Testing
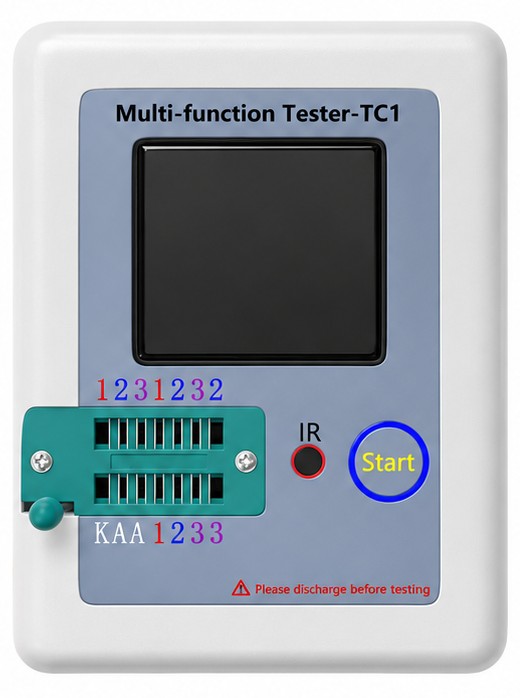
I bought one of these a few years ago on Aliexpress for about $10. It’s a component tester and identifier.
If you point a remote at it, it displays the code onscreen.