
Table of Contents

This post only applies to the original Apple TV, not the “4K 1st Generation”. The original Apple TV has a light gray outer case, as opposed to the black/dark gray of later generations.
Installing Linux
The 32-bit Intel processor will limit options for distributions since most modern releases are 64-bit only. If you need the latest kernel and user space, Debian is the clear choice. They still maintain 32-bit repositories. But, if you’re only planning on running RetroArch, any old 32-bit Linux will work.
I’ve chosen to install i386 Debian Stretch (9.13). Newer releases like Bookworm add a bigger memory footprint without really providing much else. From a security standpoint, if you’re just using this for RetroArch, Debian Stretch should be fine. For the record, I have installed Bookworm and it works fine.
I’ve covered the topic of installing Linux here, so I won’t go into detail. The process involves creating a bootable EFI USB and launching the Debian Netboot installer.
Pre-Built System Images
These are pre-configured images that will work on the Apple TV. Sound, GPU, Ethernet, and WiFi works. Full HD 1920×1080 video output works through HDMI, though I reduced the resolution to 1280×720. Root password is root. There is one default user — username: apple / password: apple
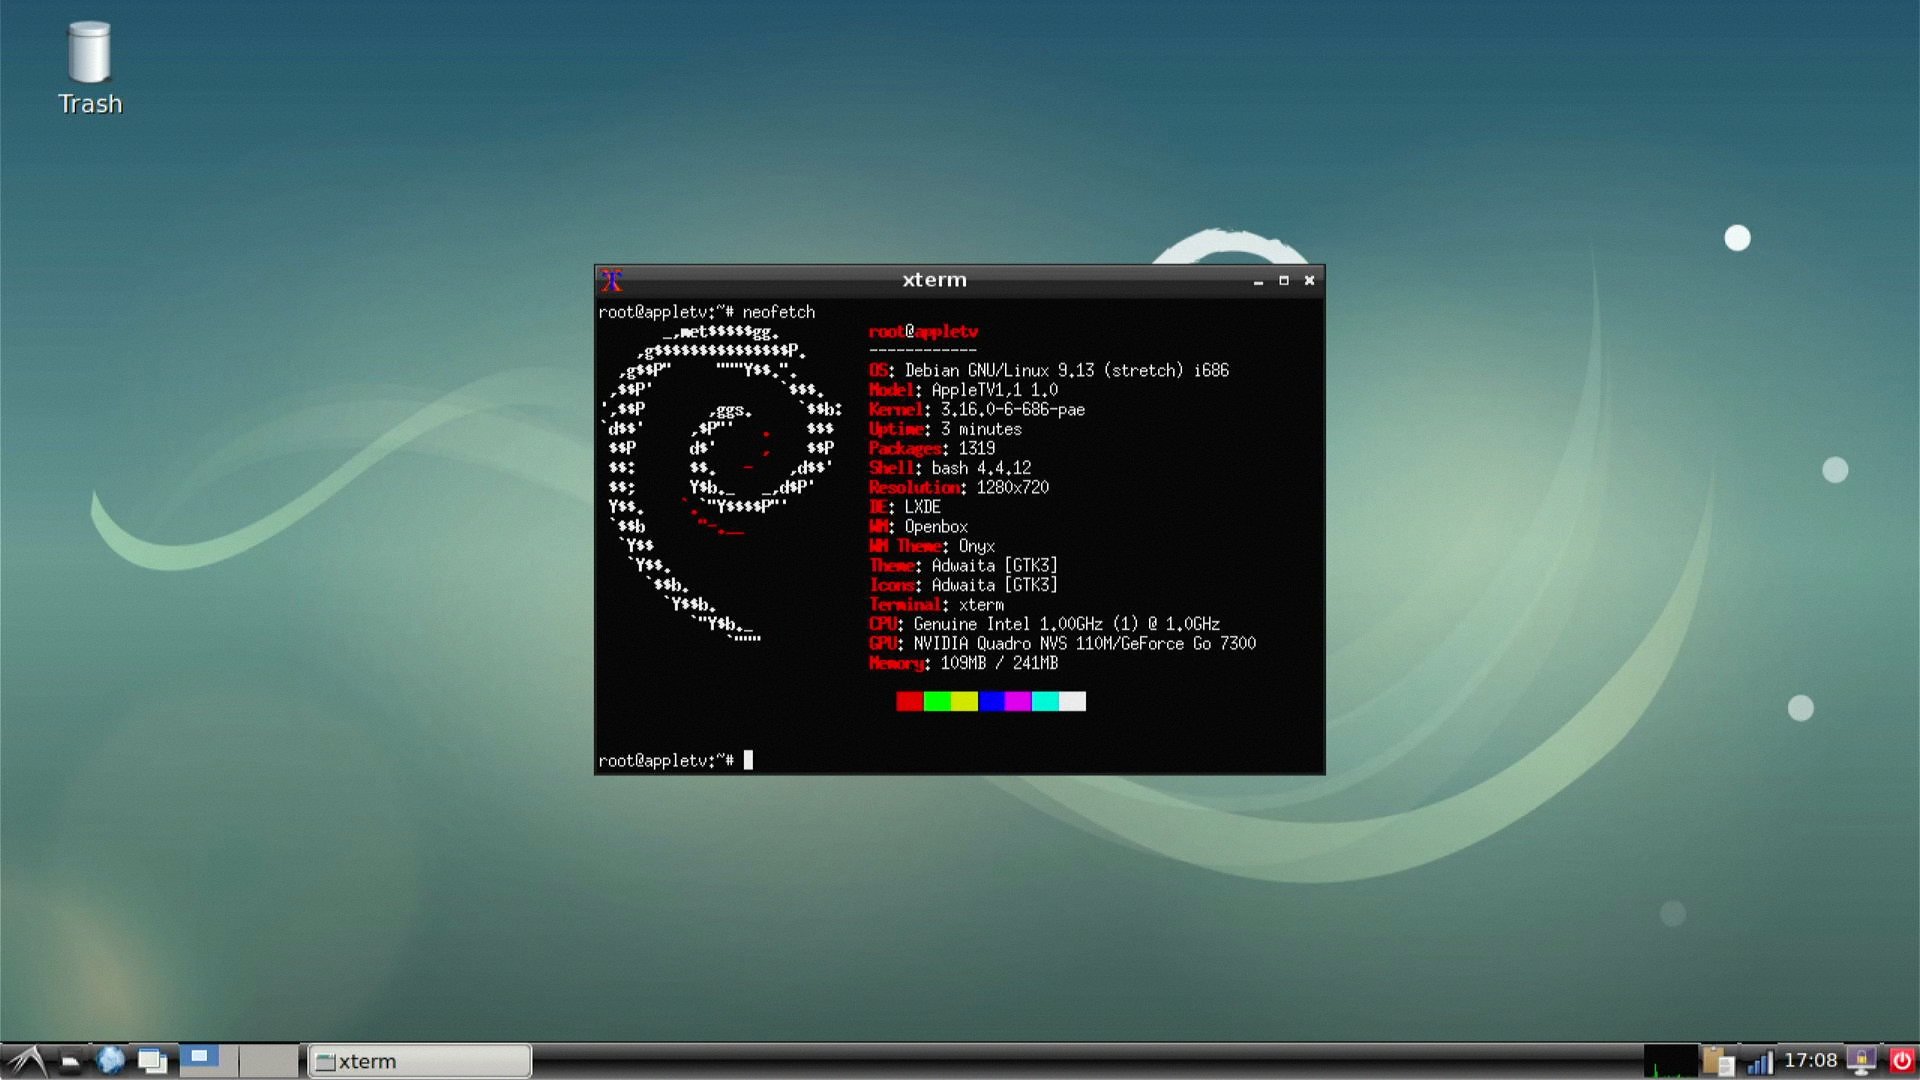
Debian Stretch, LXDE
1.5GB stretch-gui.img.xz
md5: ff0d92237caa8376e53887541ab2cfc6
Vanilla Debian install. Boots to LXDE. Not much else is configured. This image has to be written to the internal hard drive. It is not designed to boot from an external USB device.
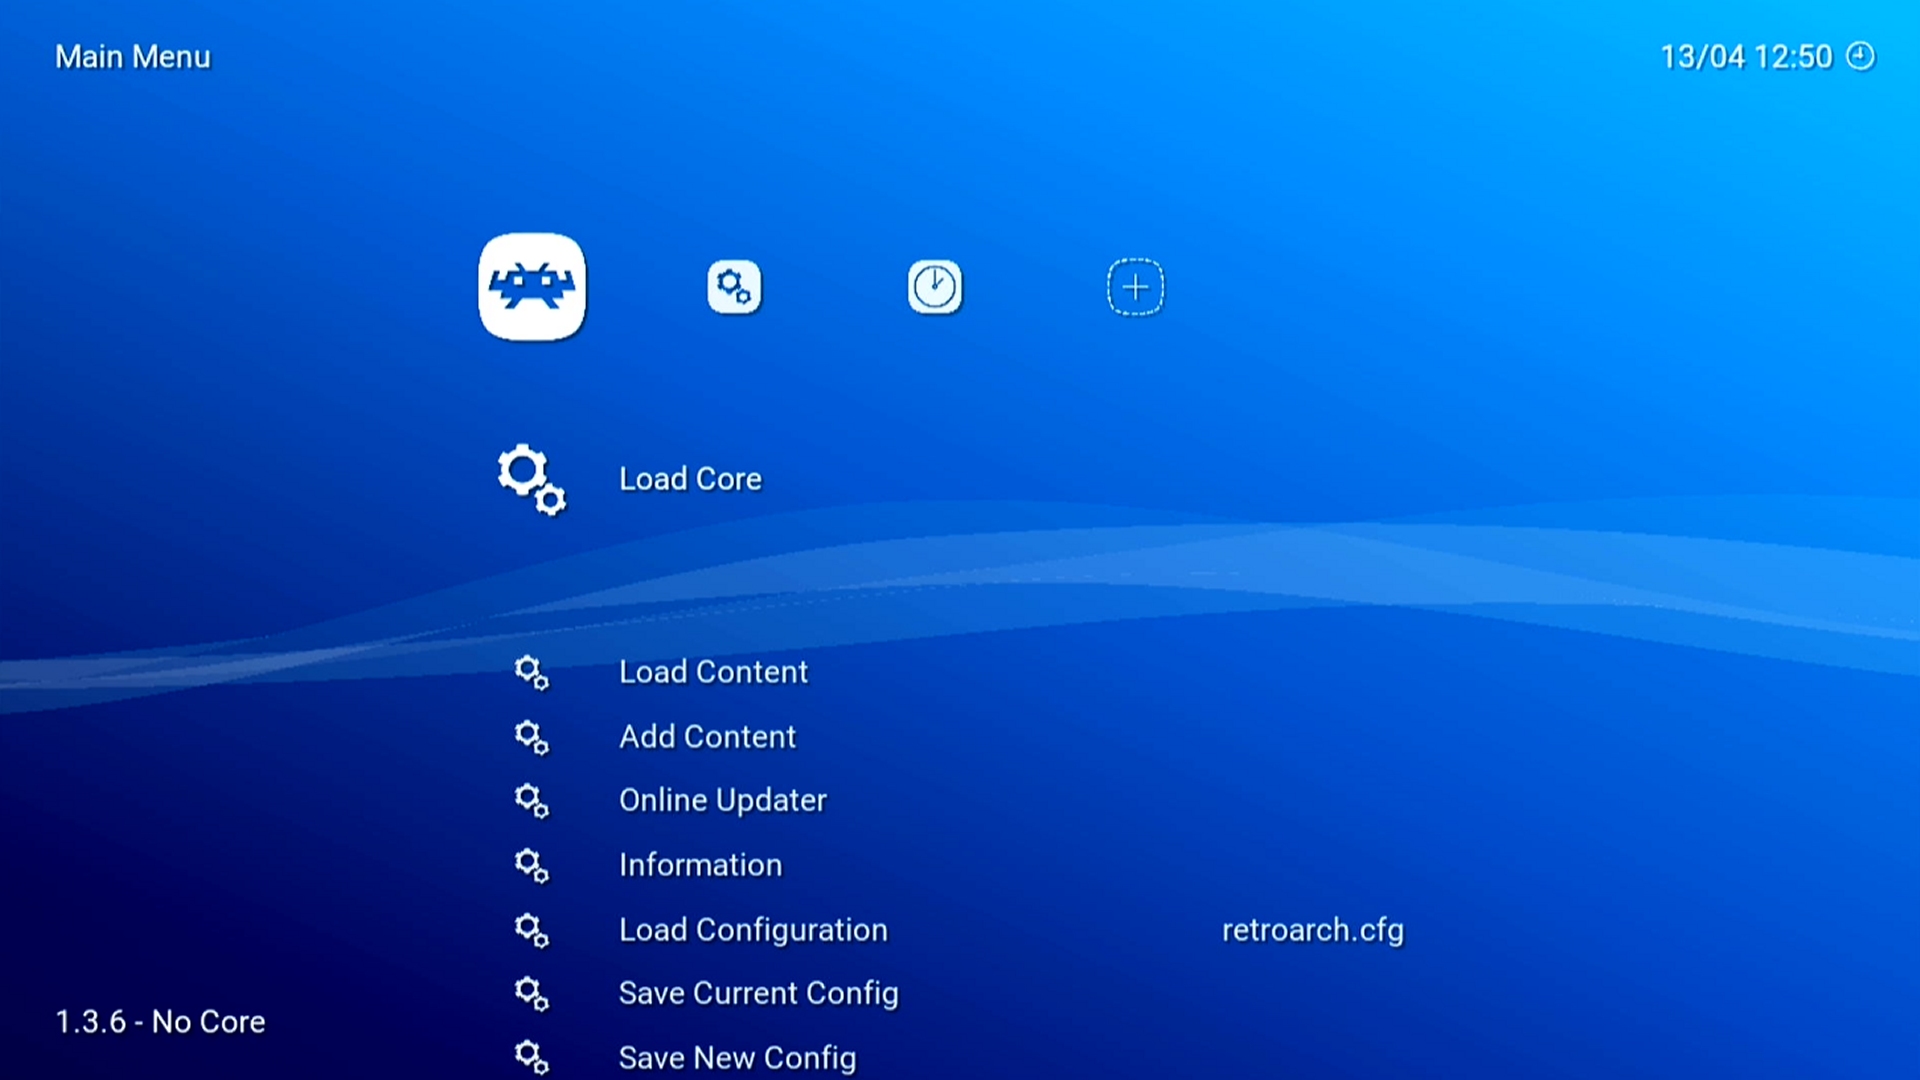
Debian Stretch, RetroArch
1.8GB stretch-retroarch.img.xz
md5: 77cf146155c3a56386c95d07c35348dd
Automatically logs in as ‘root’ and launches RetroArch in full screen. This image is also running LXDE. Pressing ‘Esc’ on the RetroArch screen will drop you to the desktop. This image has to be written to the internal hard drive. It is not designed to boot from an external USB device.
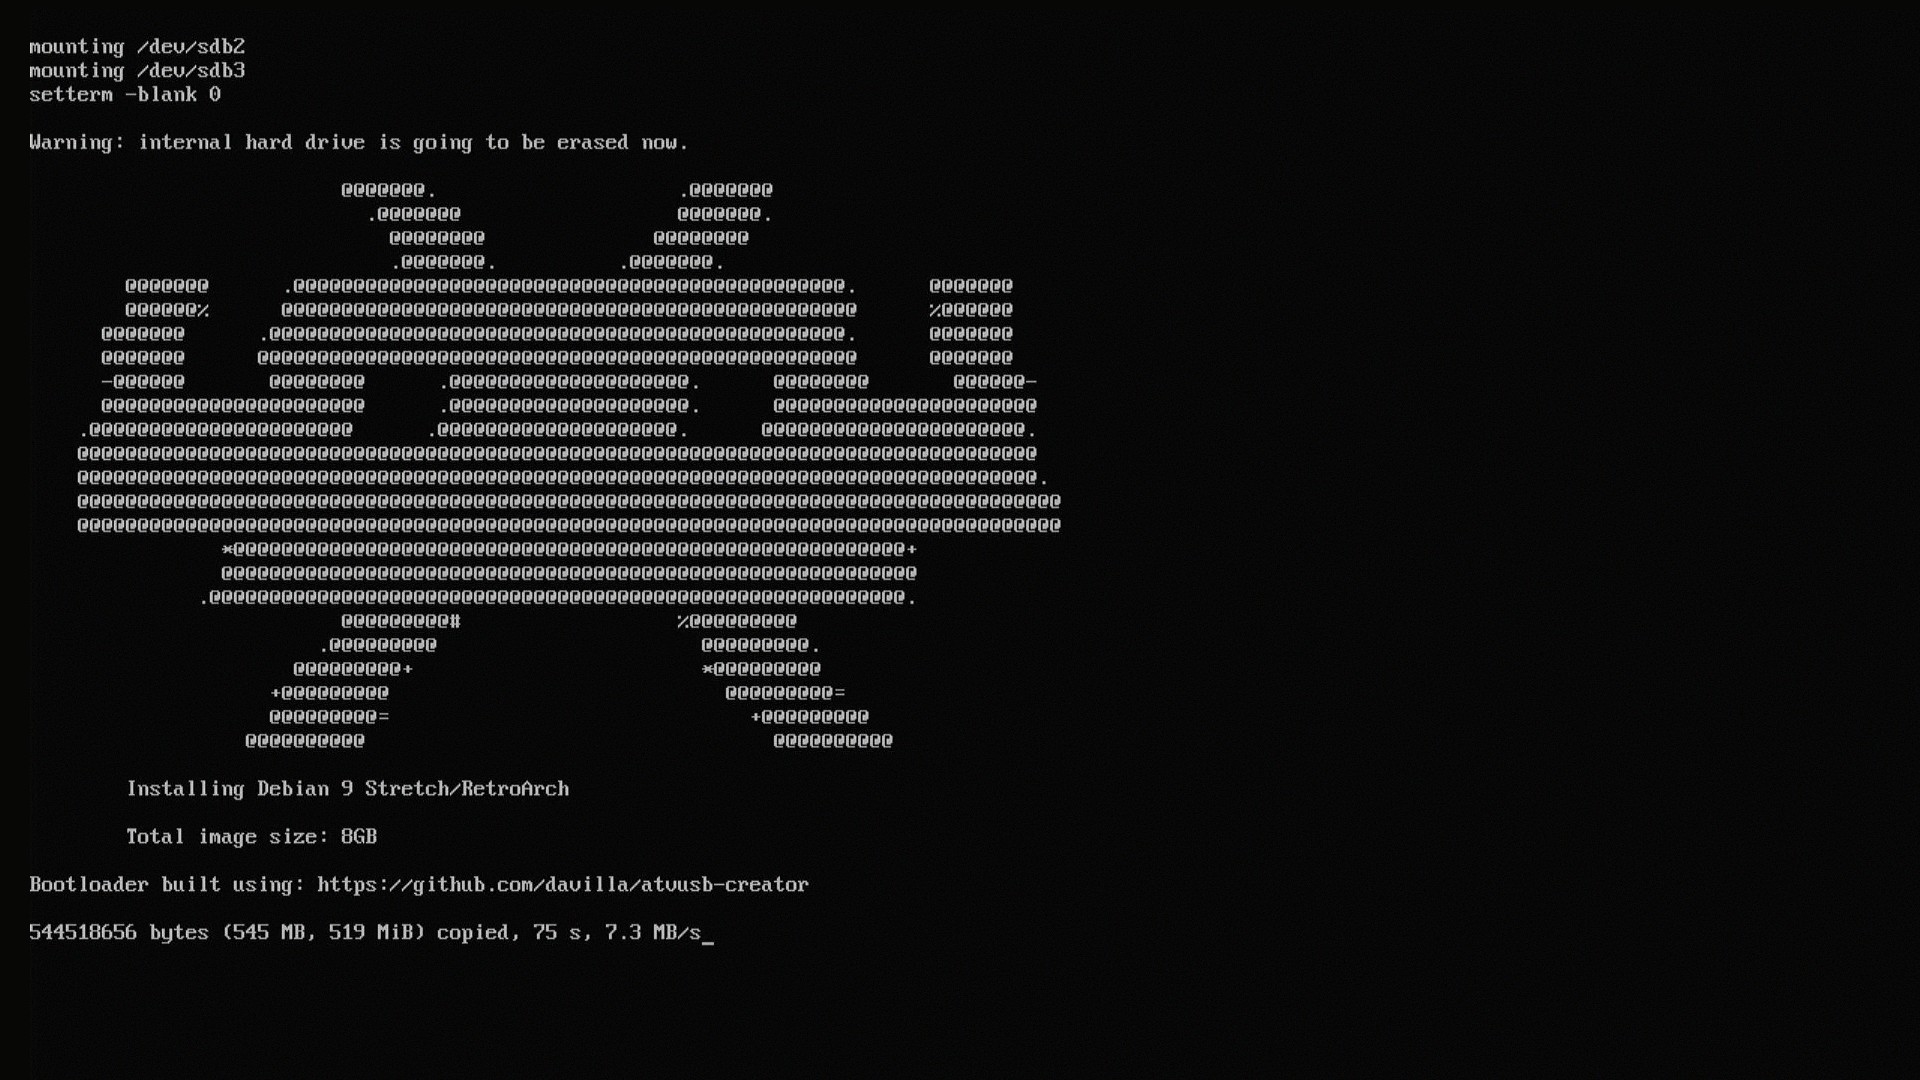
USB Bootable RetroArch Installer
1.8GB retroarch-installer.img.xz
md5: ab942fb516aab50323eb0ae2bdfe5343
Decompress and write to a USB flash drive at least 4GB in size. This boots the Apple TV into a Linux shell and installs Debian Stretch and RetroArch to the Apple TV’s internal hard drive. There is no prompt or confirmation. It will begin overwriting the internal hard drive on boot. The total “install” time is about 20 minutes.
How to Write the Images
The images need to be decompressed using the ‘xz’ tool.
xz -d stretch-retroarch.img.xz
Once decompressed, use ‘dd’ or similar program to write the entire image to your target device.
# If your device is /dev/sdc
dd if=stretch-retroarch.img of=/dev/sdc bs=1M
For those looking for a GUI solution, the Raspberry Pi Imager can handle the decompression and imaging.
The Raspberry Pi Imager is available for Windows, Ubuntu and macOS. balenaEtcher also works and is also cross-platform.
Adding Emulators and Games
The Apple TV is running Samba. Once networked, use its IP address to connect. You can also use the Netbios name of ‘appletv’. The Apple TV is sharing a directory called ‘/shared‘. It can be used to store roms and emulators.
Adding Emulators (cores): In the ‘/shared’ directory is a folder called cores-available. This contains 175 cores. To use them, copy the one(s) you want to the cores-installed folder. They will appear in RetroArch.
Adding Games (roms): This installation does not come with any games. Copy any games you have to the roms directory. Creating your own folder structure is advised, but not necessary.
List of Emulators/Cores Available
This is a list of the available cores that are stored in ‘/shared/cores-available’. I’ve only tested a handful of them. This HTML document is also in the ‘/shared‘ directory.
Gamepad Controller Settings
I’m using an Xbox controller because that’s the only one I have. I assume any USB game controller will work.
The machine has one USB port. To setup a game controller, you will need a USB hub to connect a keyboard/mouse and game controller at the same time. The game controller won’t work until you configure it in the input settings of RetroArch.
You will need the keyboard to navigate the RetroArch menu until your game controller is configured.

Audio Output Settings
The Apple TV has multiple options for handling audio out. It is controlled with the ‘pavucontrol’ package. A shortcut is on the desktop.
I use HDMI audio output to my TV. I have not tested any other audio output settings.
Game Play & Performance
I mapped Left/Right analog in reverse and didn’t realize it until I played Mario Kart. Really.
I’ve tested Sega Genesis, NES, SNES, and various GameBoy cores and they perform well. For me, Sega Genesis games worked with the PicoDrive core, but the other ‘Genesis’ cores had poor performance. Cores are available for later generation consoles, but poor frame rates make them unplayable.
I’m not a RetroArch or emulator expert, so I don’t know if there are any performance optimizations to be had, but my guess is the Apple TV platform just isn’t powerful enough. I wanted to put that out there to manage expectations on what you can and can’t play.