
Table of Contents
I watched a Youtube video by dosdude1 where he attempts to upgrade an Apple TV to 1GB of RAM from the factory 256MB. Although the Apple TV only managed to recognize 512MB, doubling the RAM is still impressive.
I thought I’d upgrade my own Apple TV.
Picking the RAM Module
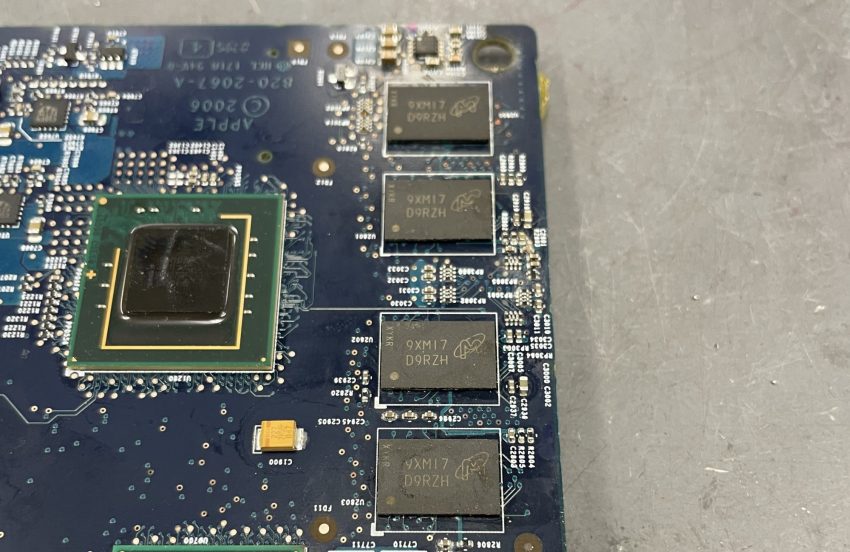
My Apple TV uses four Nanya Tech NT5TU32M16CG-3C 512Mbit modules. It is DDR2-667 with 13 row addresses and 10 column addresses. The easiest thing to do is use 1Gbit modules with matching specs. I chose the Micron MT47H64M16NF.
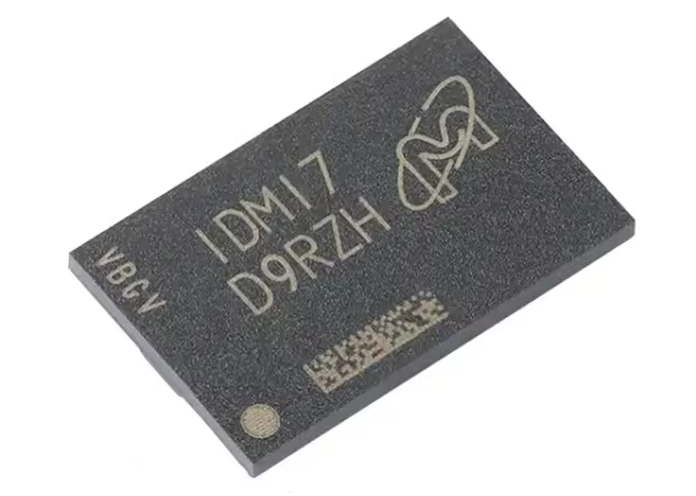
These are 1Gbit modules with the same rows and columns as the NT5TU32M16CG-3C, meaning extra address lines aren’t needed. This should be a drop in replacement.
I bought four of them from Aliexpress for $2.50 USD/each + $7 shipping, so it was just under $20. I don’t think the global RAM shortage has made its way down to DDR2.
Reballing
These DDR2 chips use an 84-ball BGA package (not all DDR2 chips are 84-ball). It comes pre-balled, but I don’t like using the unleaded solder that came with the chips.
I’ve had better results with leaded solder balls so I decided on re-balling.
Soldering New RAM
I used my hot air rework station to de-solder the old RAM chips and again to solder on the new RAM chips. I have a board pre-heater, but these chips are so small that I didn’t think it was necessary.
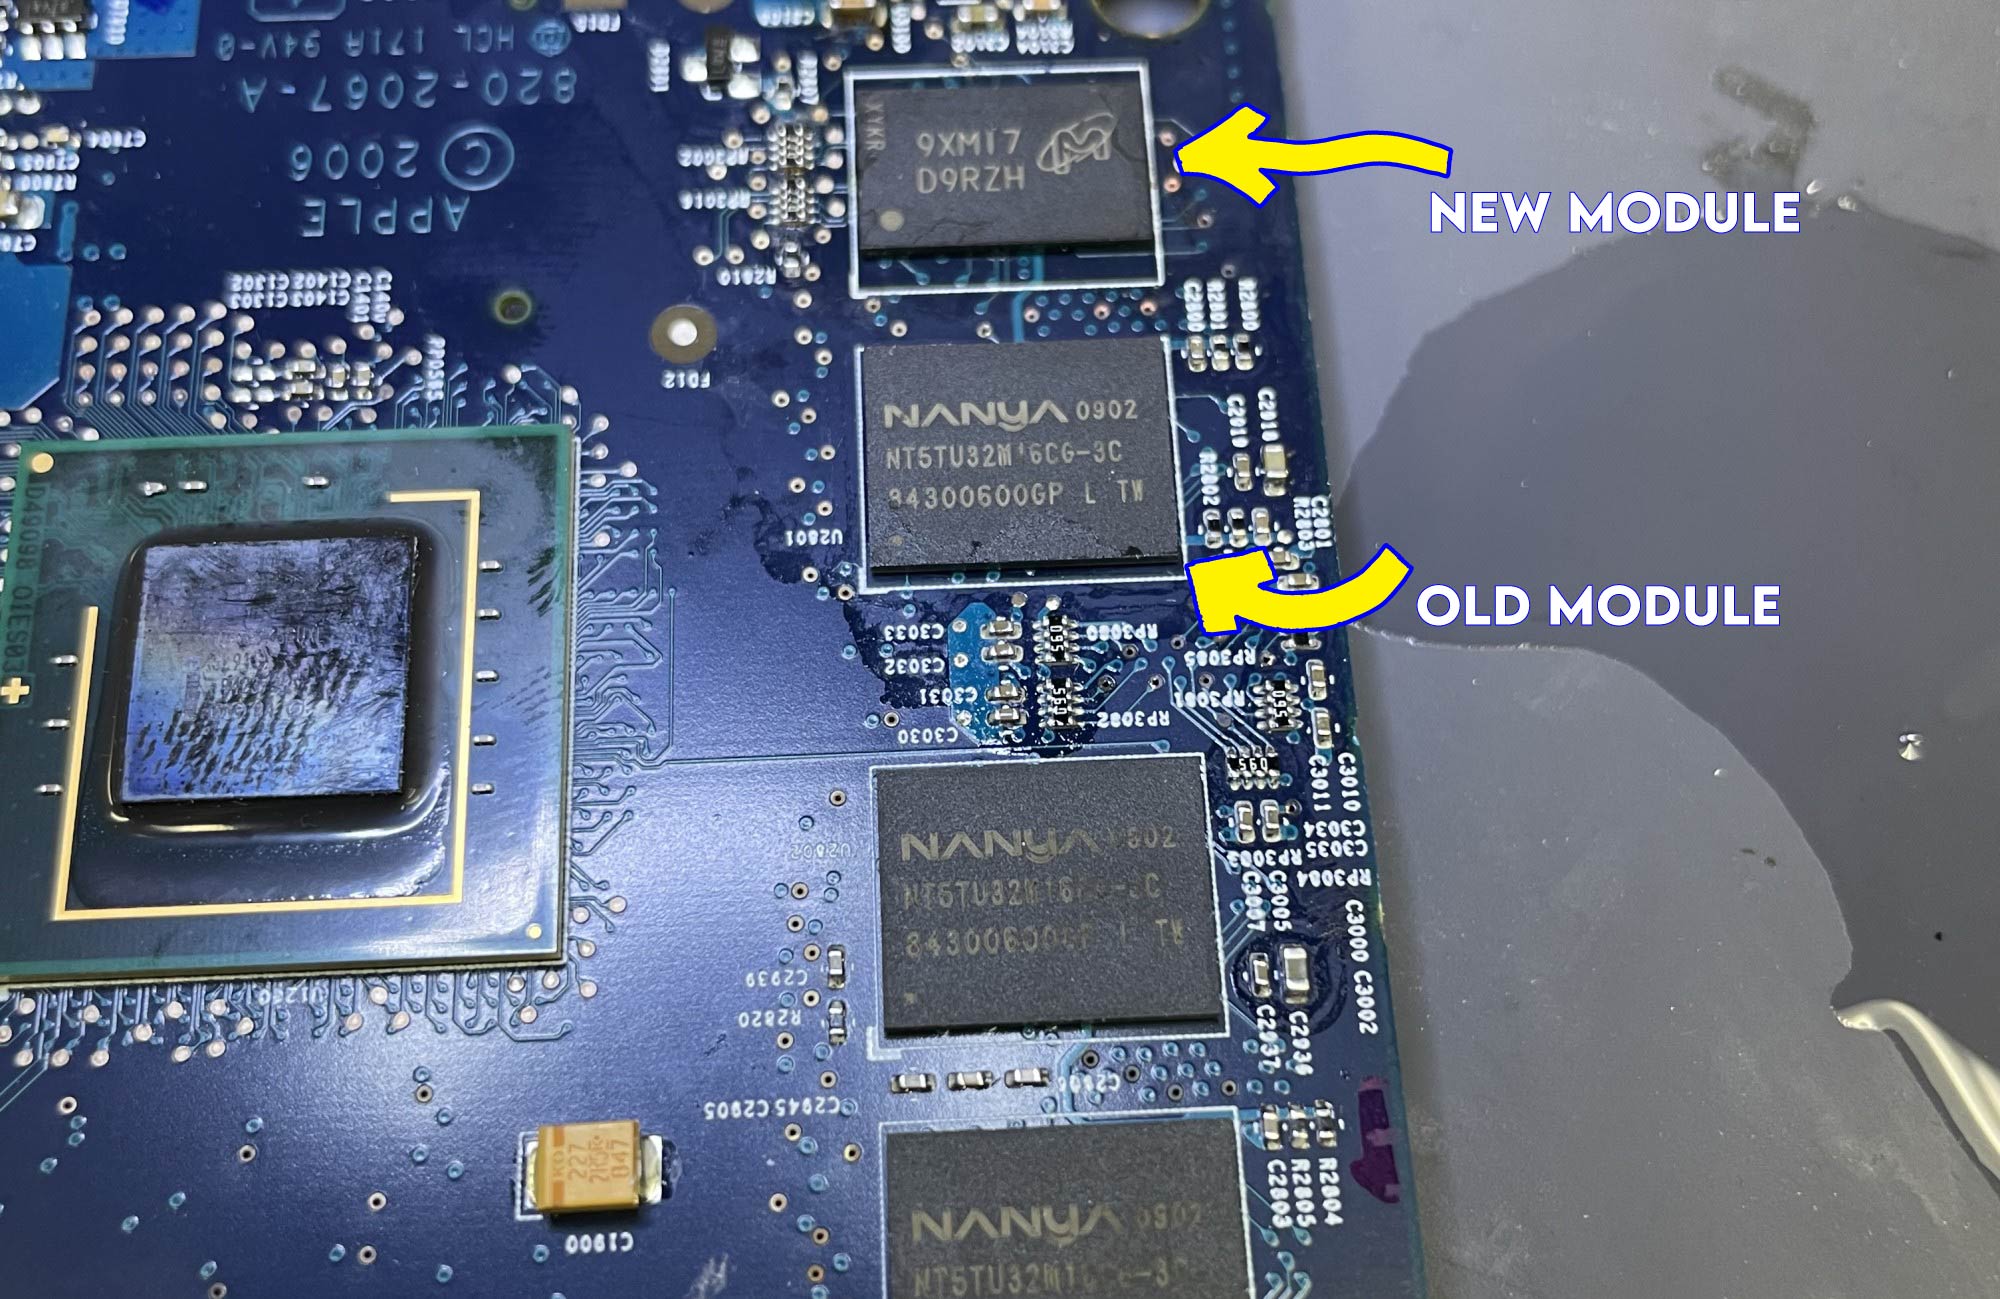
The new chips are physically smaller than the old ones. Once I got one soldered on, I tested the board to see if it would still boot (it did!).
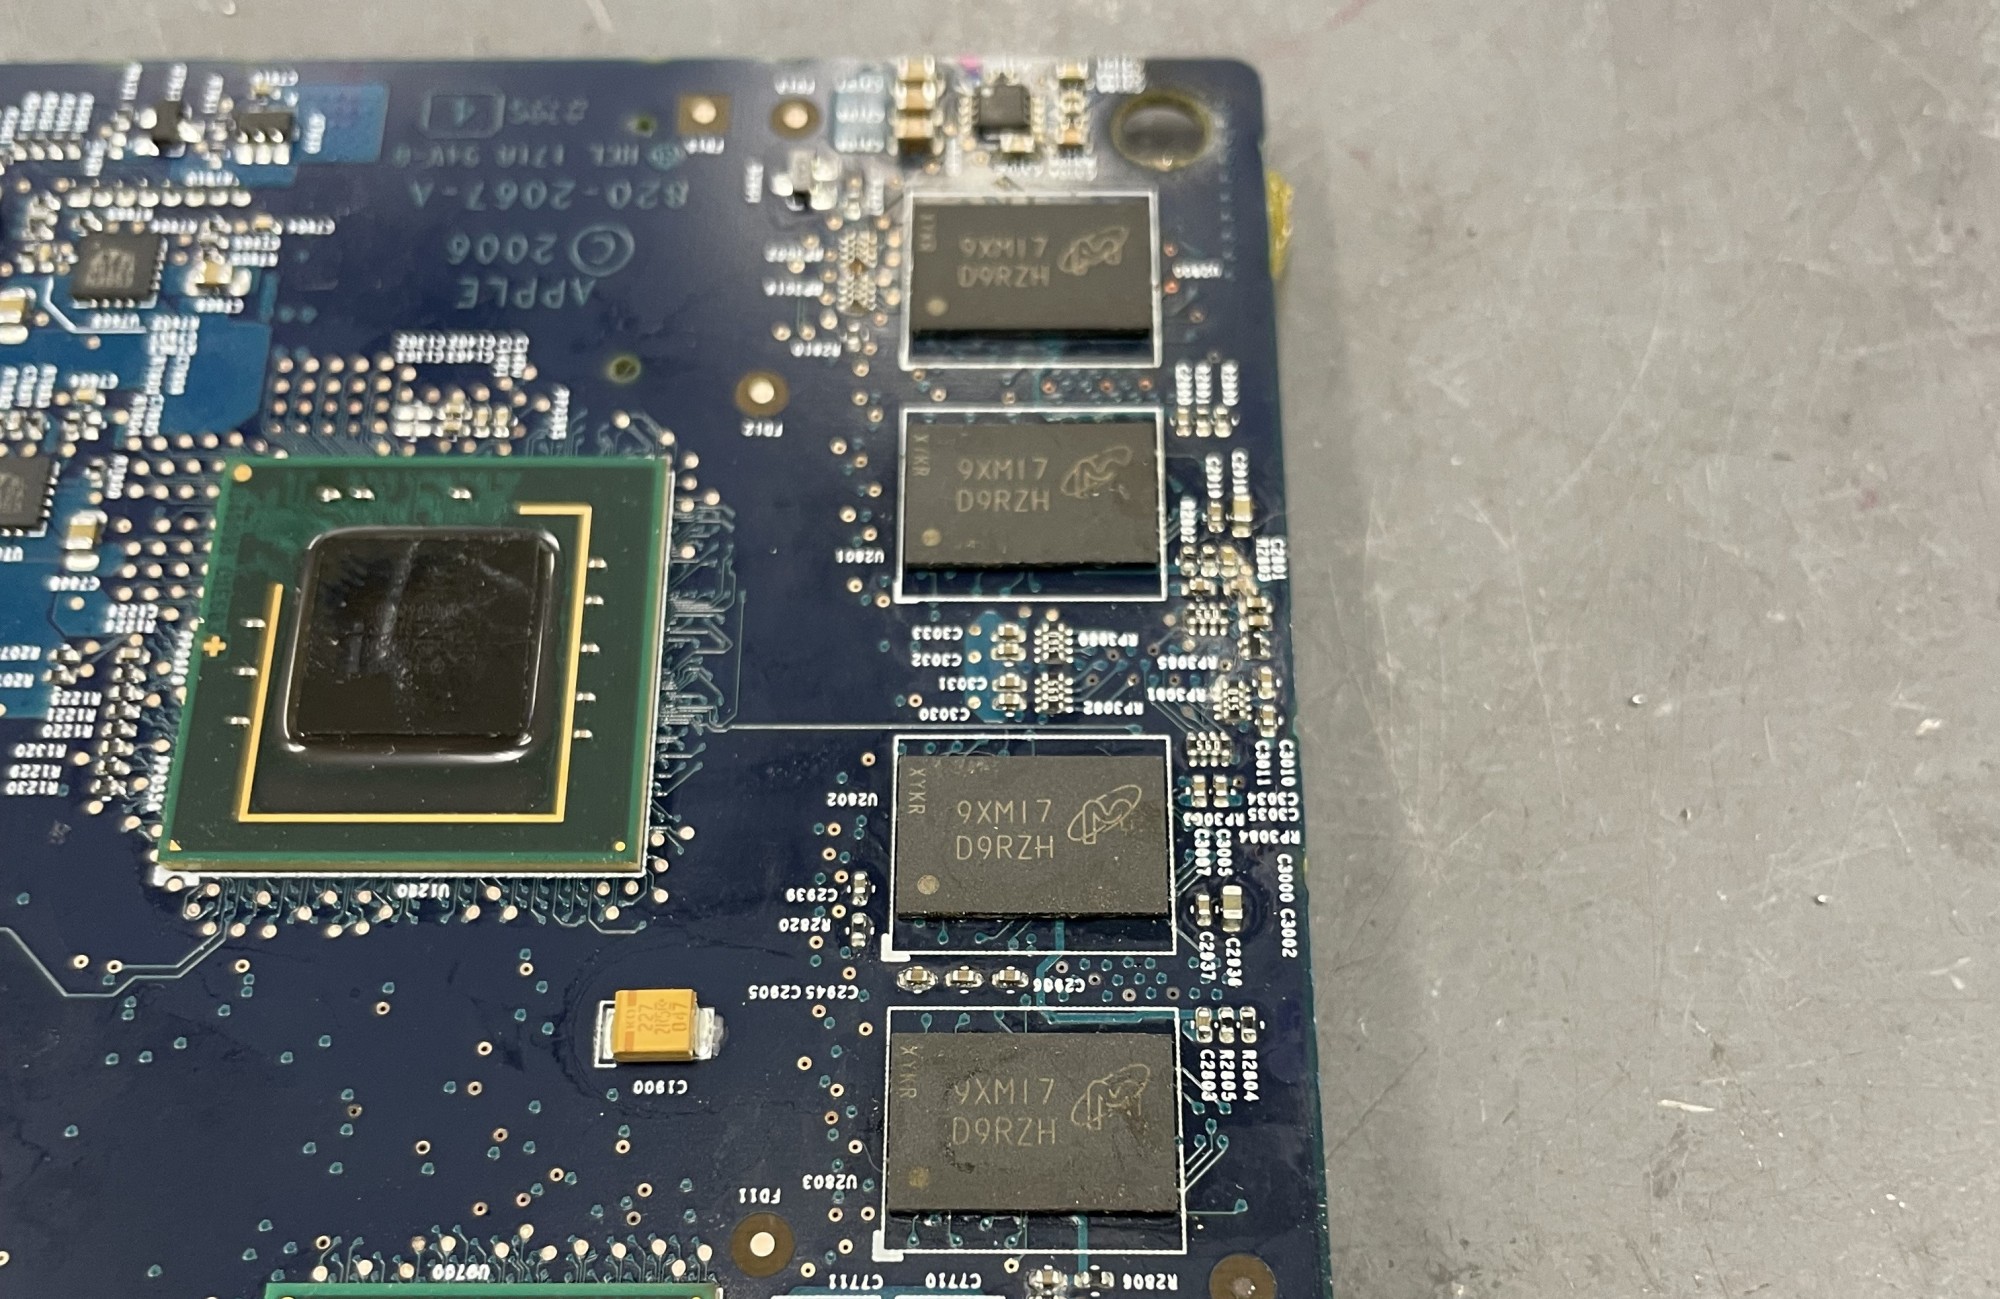
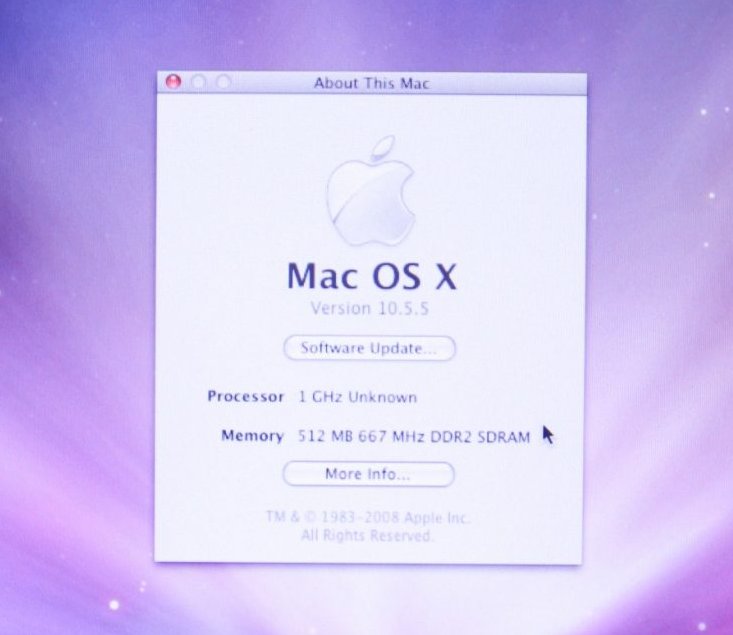
After all the chips were soldered on, I did one final boot to see if everything was working. The machine booted into OS X and reported 256MB of RAM, so the chips were soldered on correctly.
Now the SPD data on the motherboard has to be reprogrammed to see the full 512MB of RAM.
Dumping/Re-Programming ROM
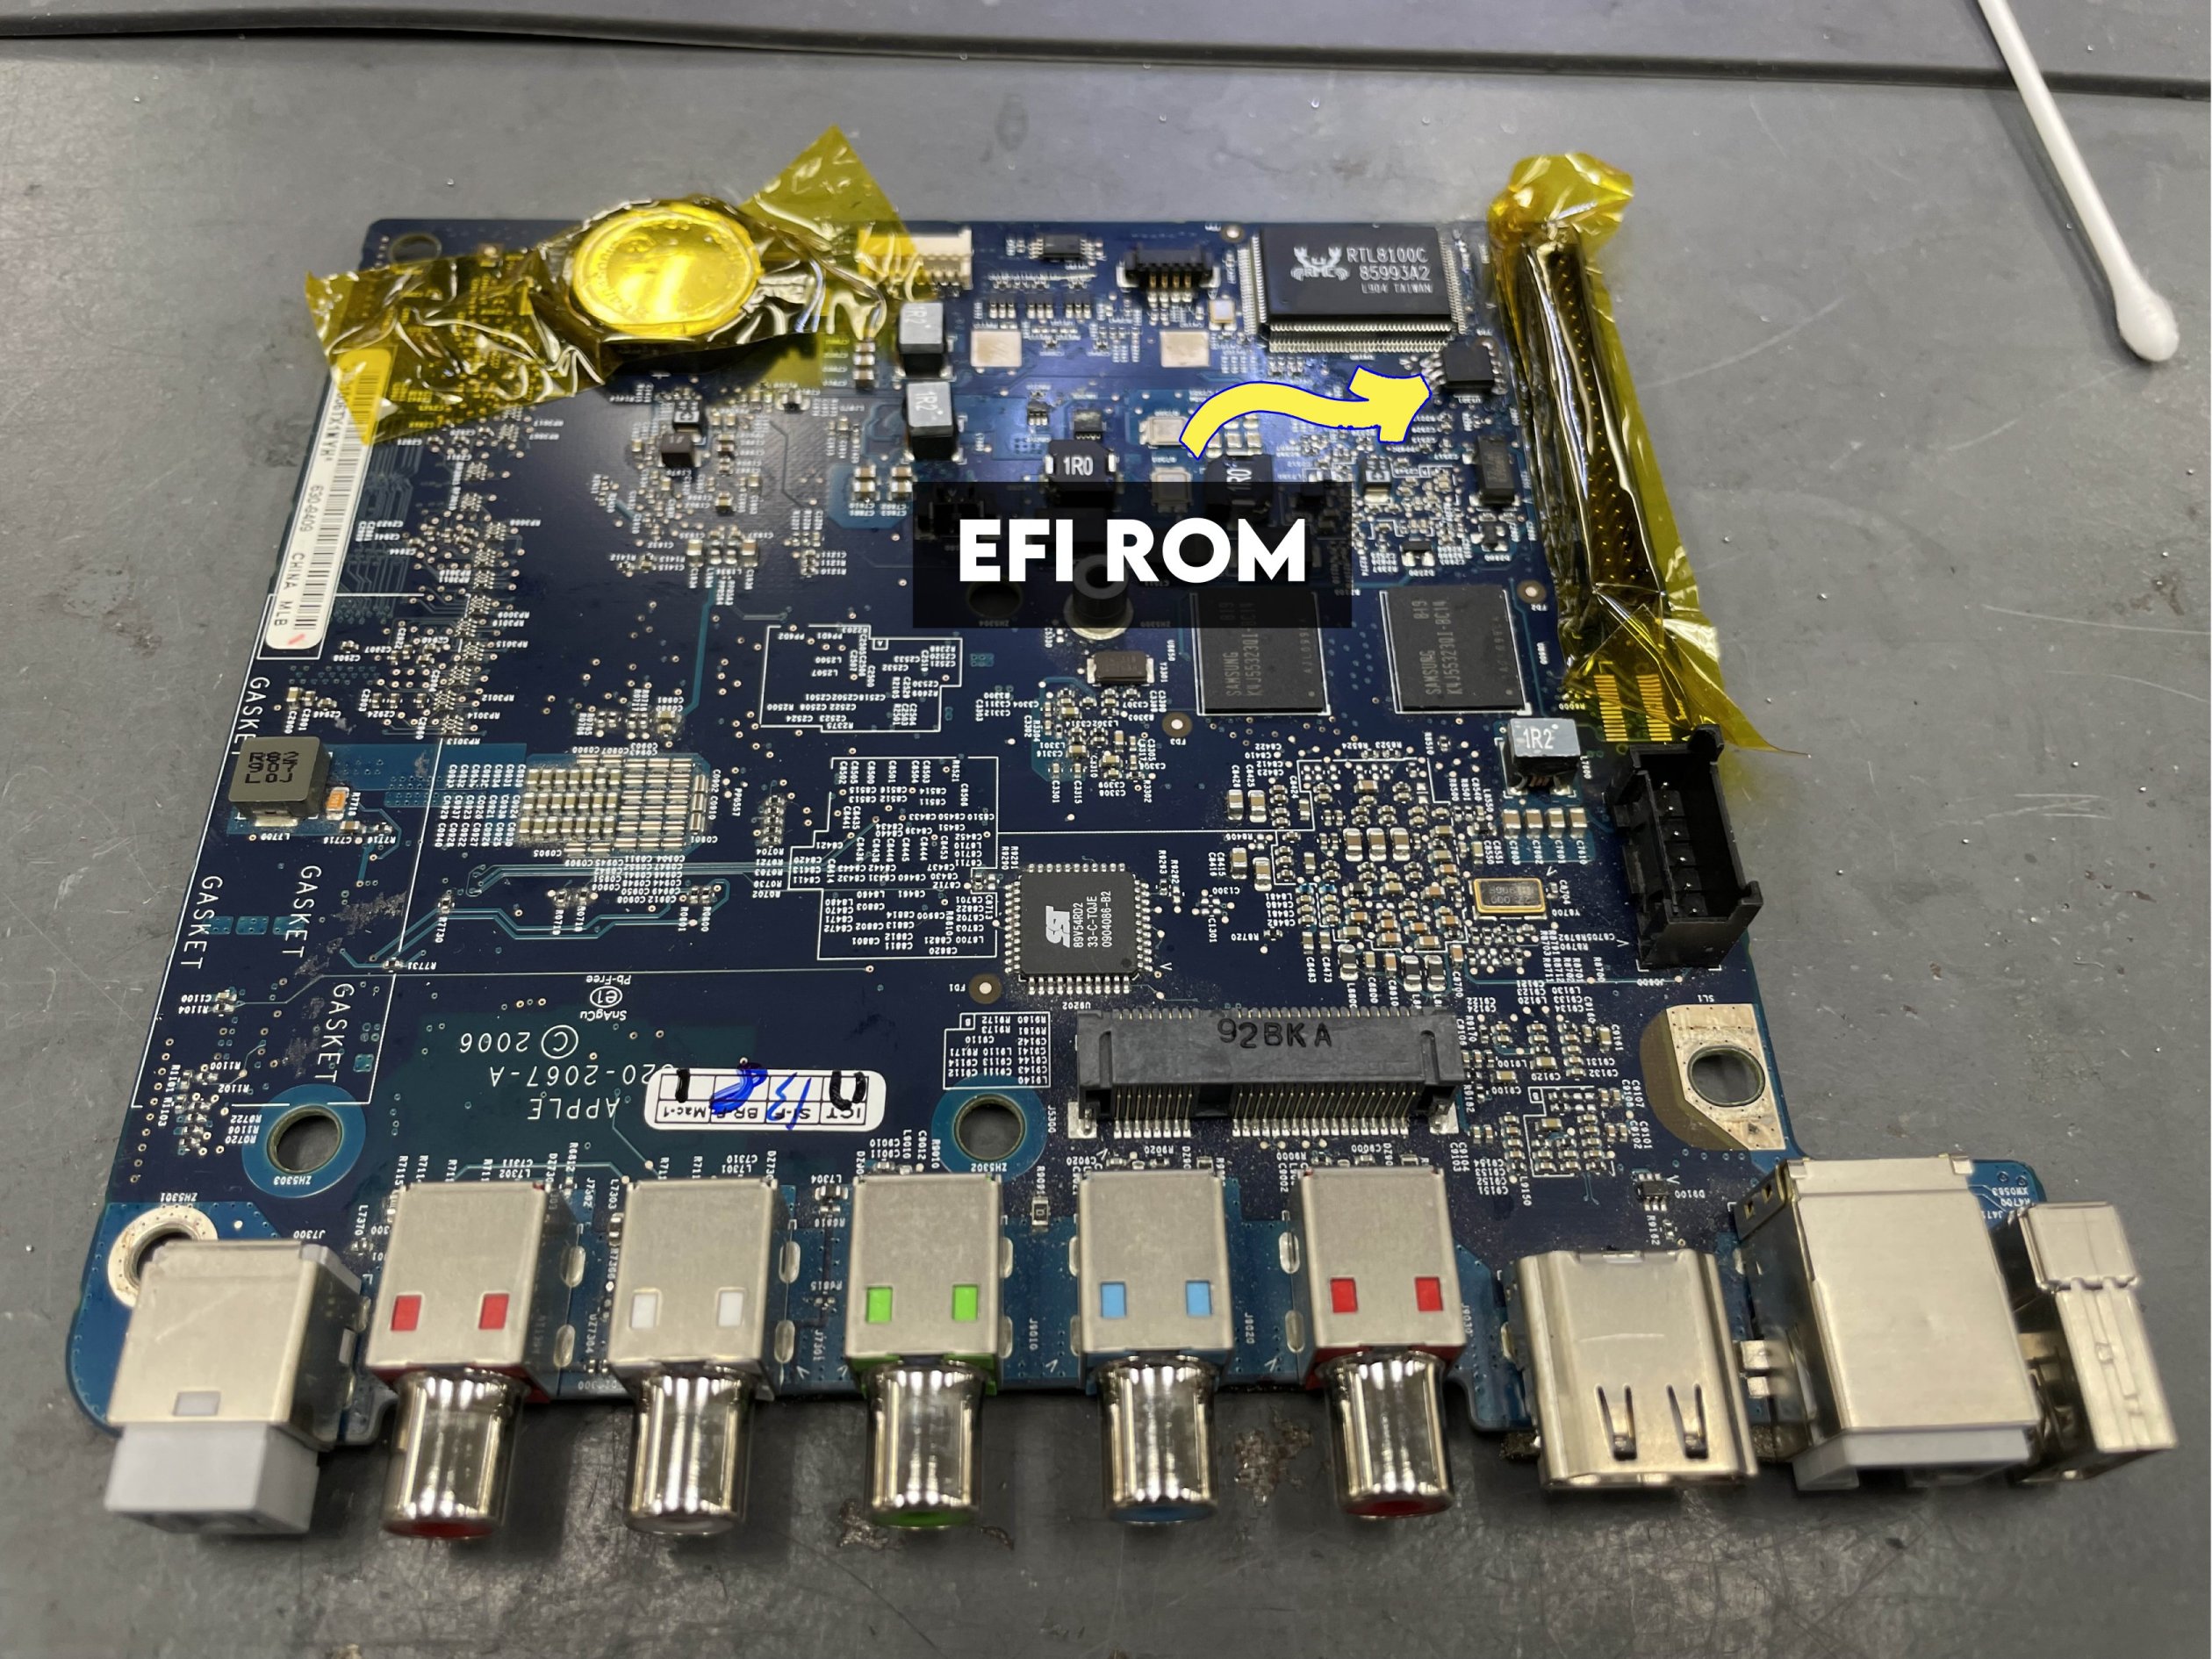
The SPD data is embedded in the EFI ROM. It’s a 16MBit/2MiB flash chip located next to the IDE connector. Using a hot air station is enough to desolder/solder the chip. Just be mindful of the plastic IDE connector.
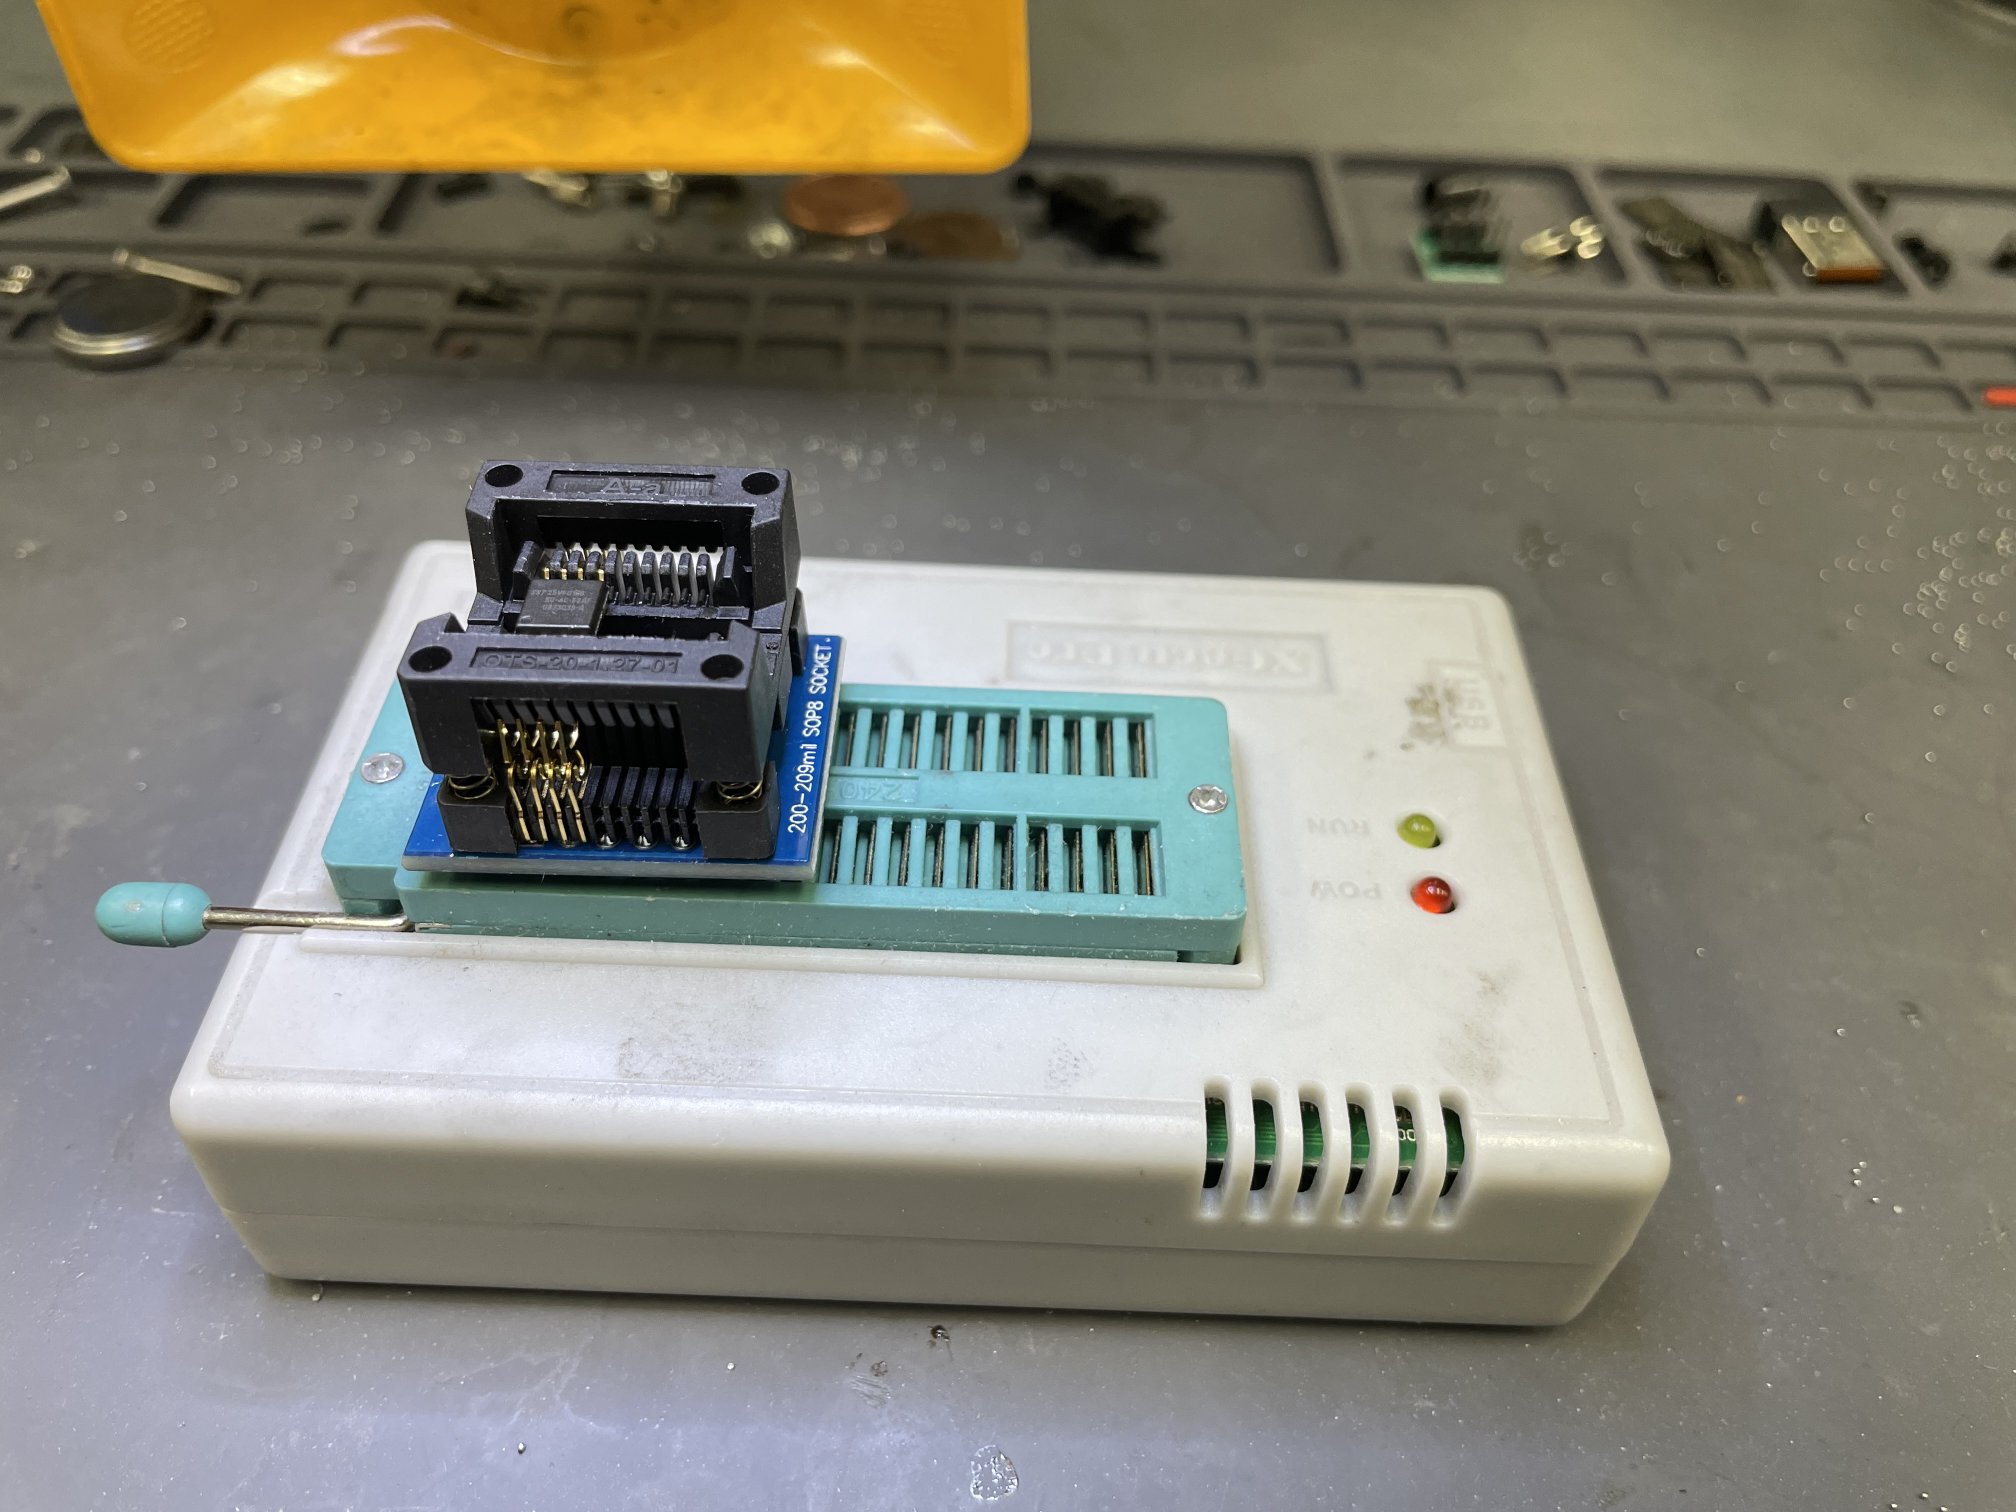
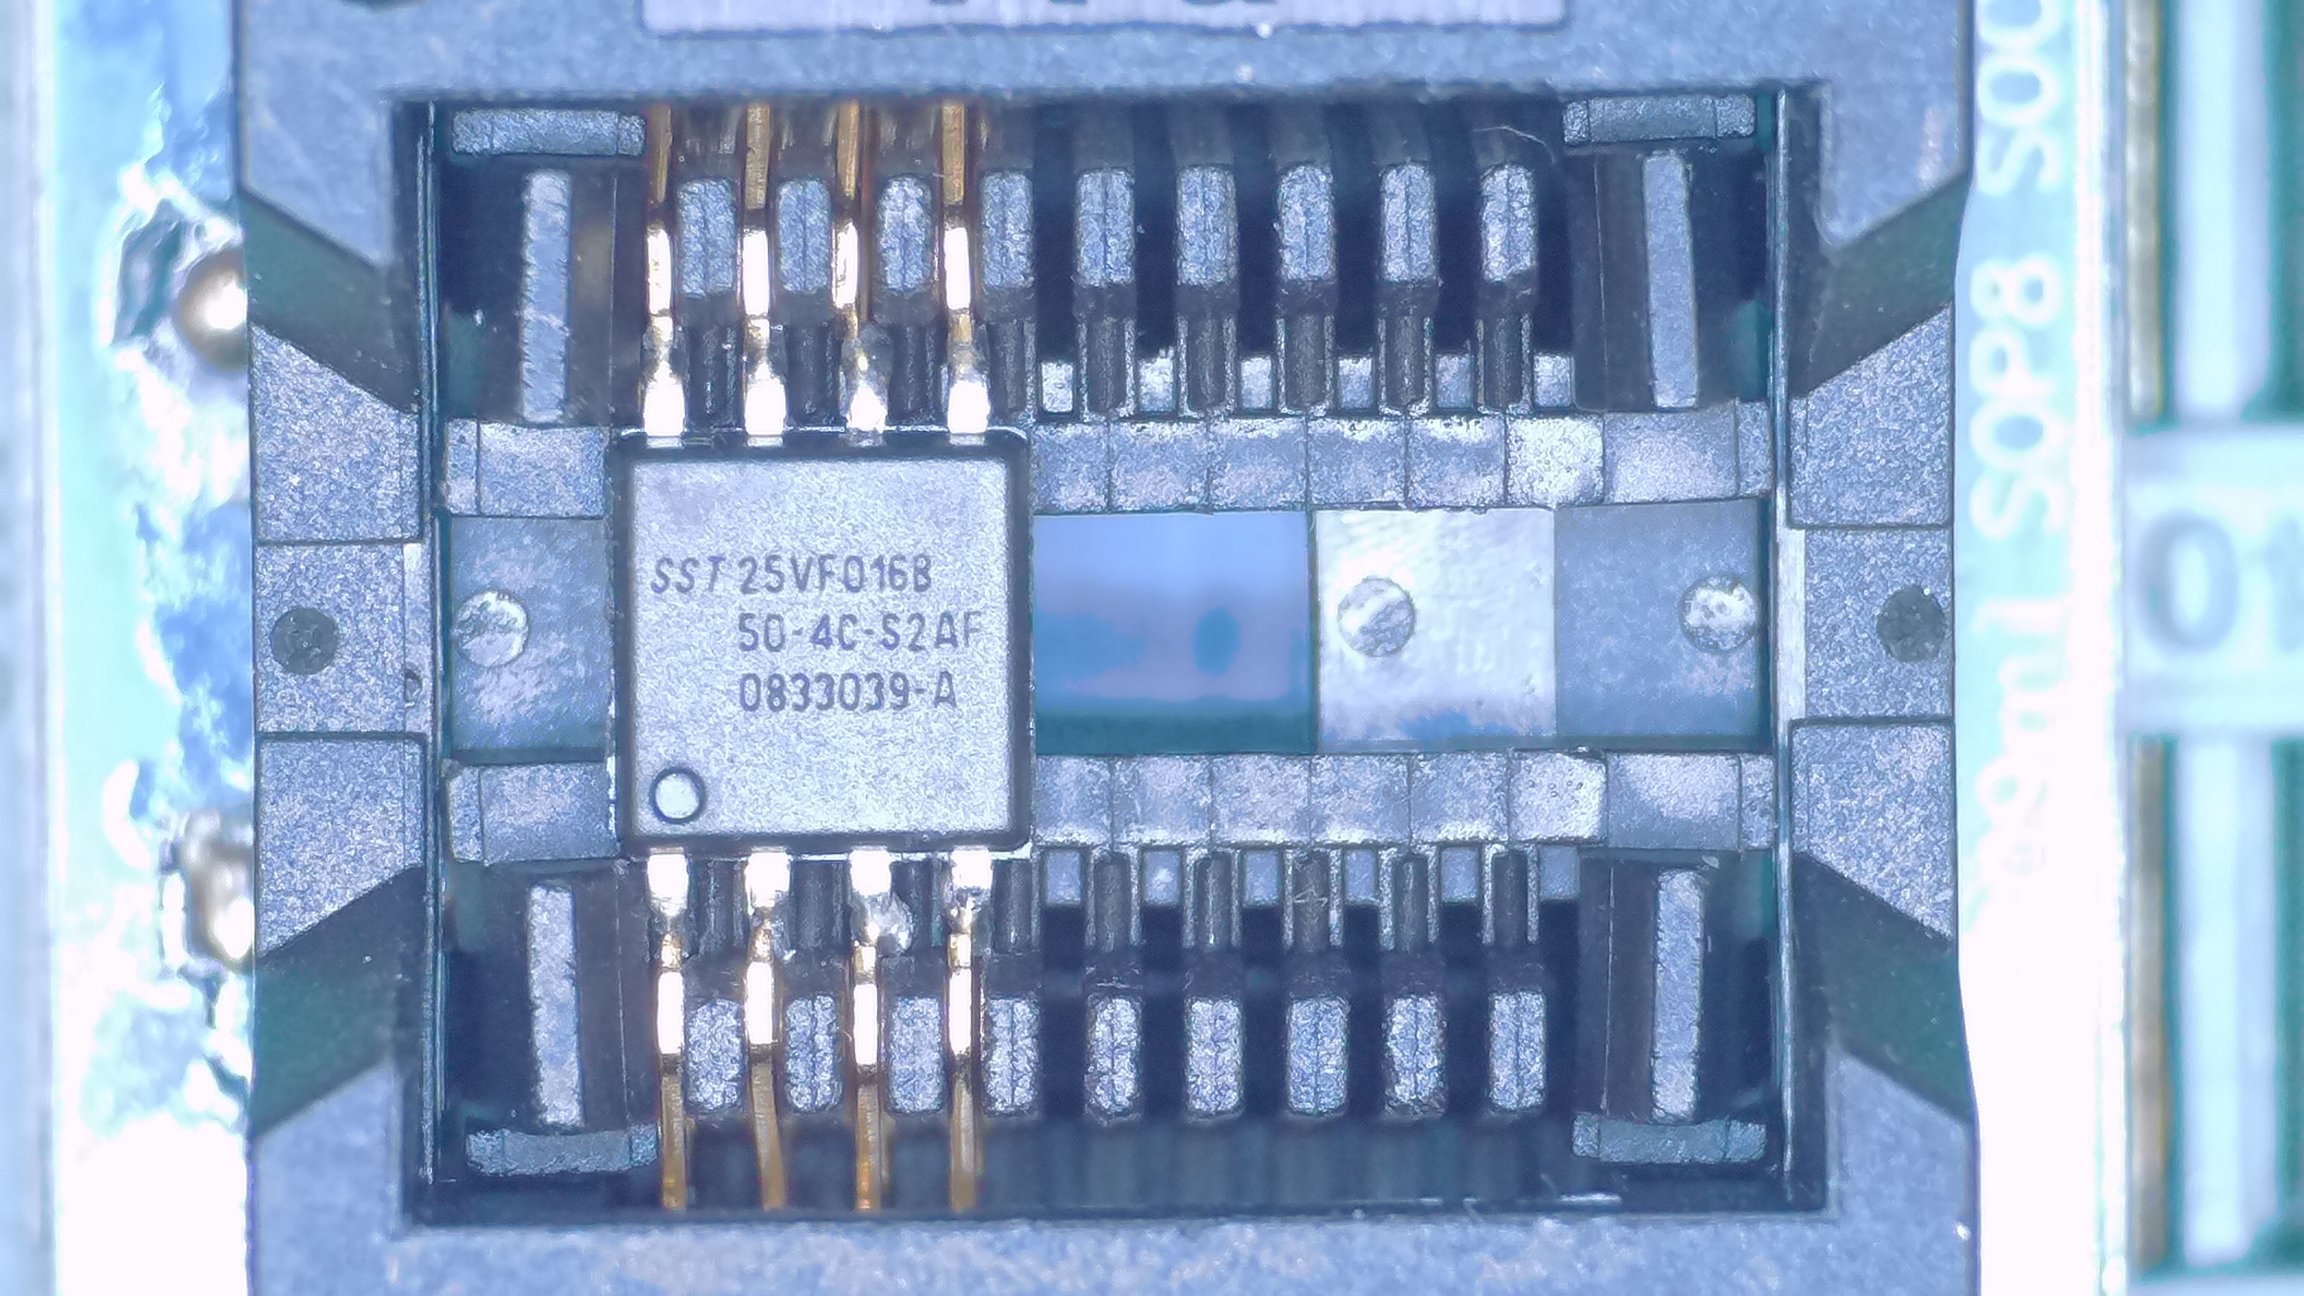
I’m using a TL866ii programmer with an adapter to read the flash chip.
Editing ROM File
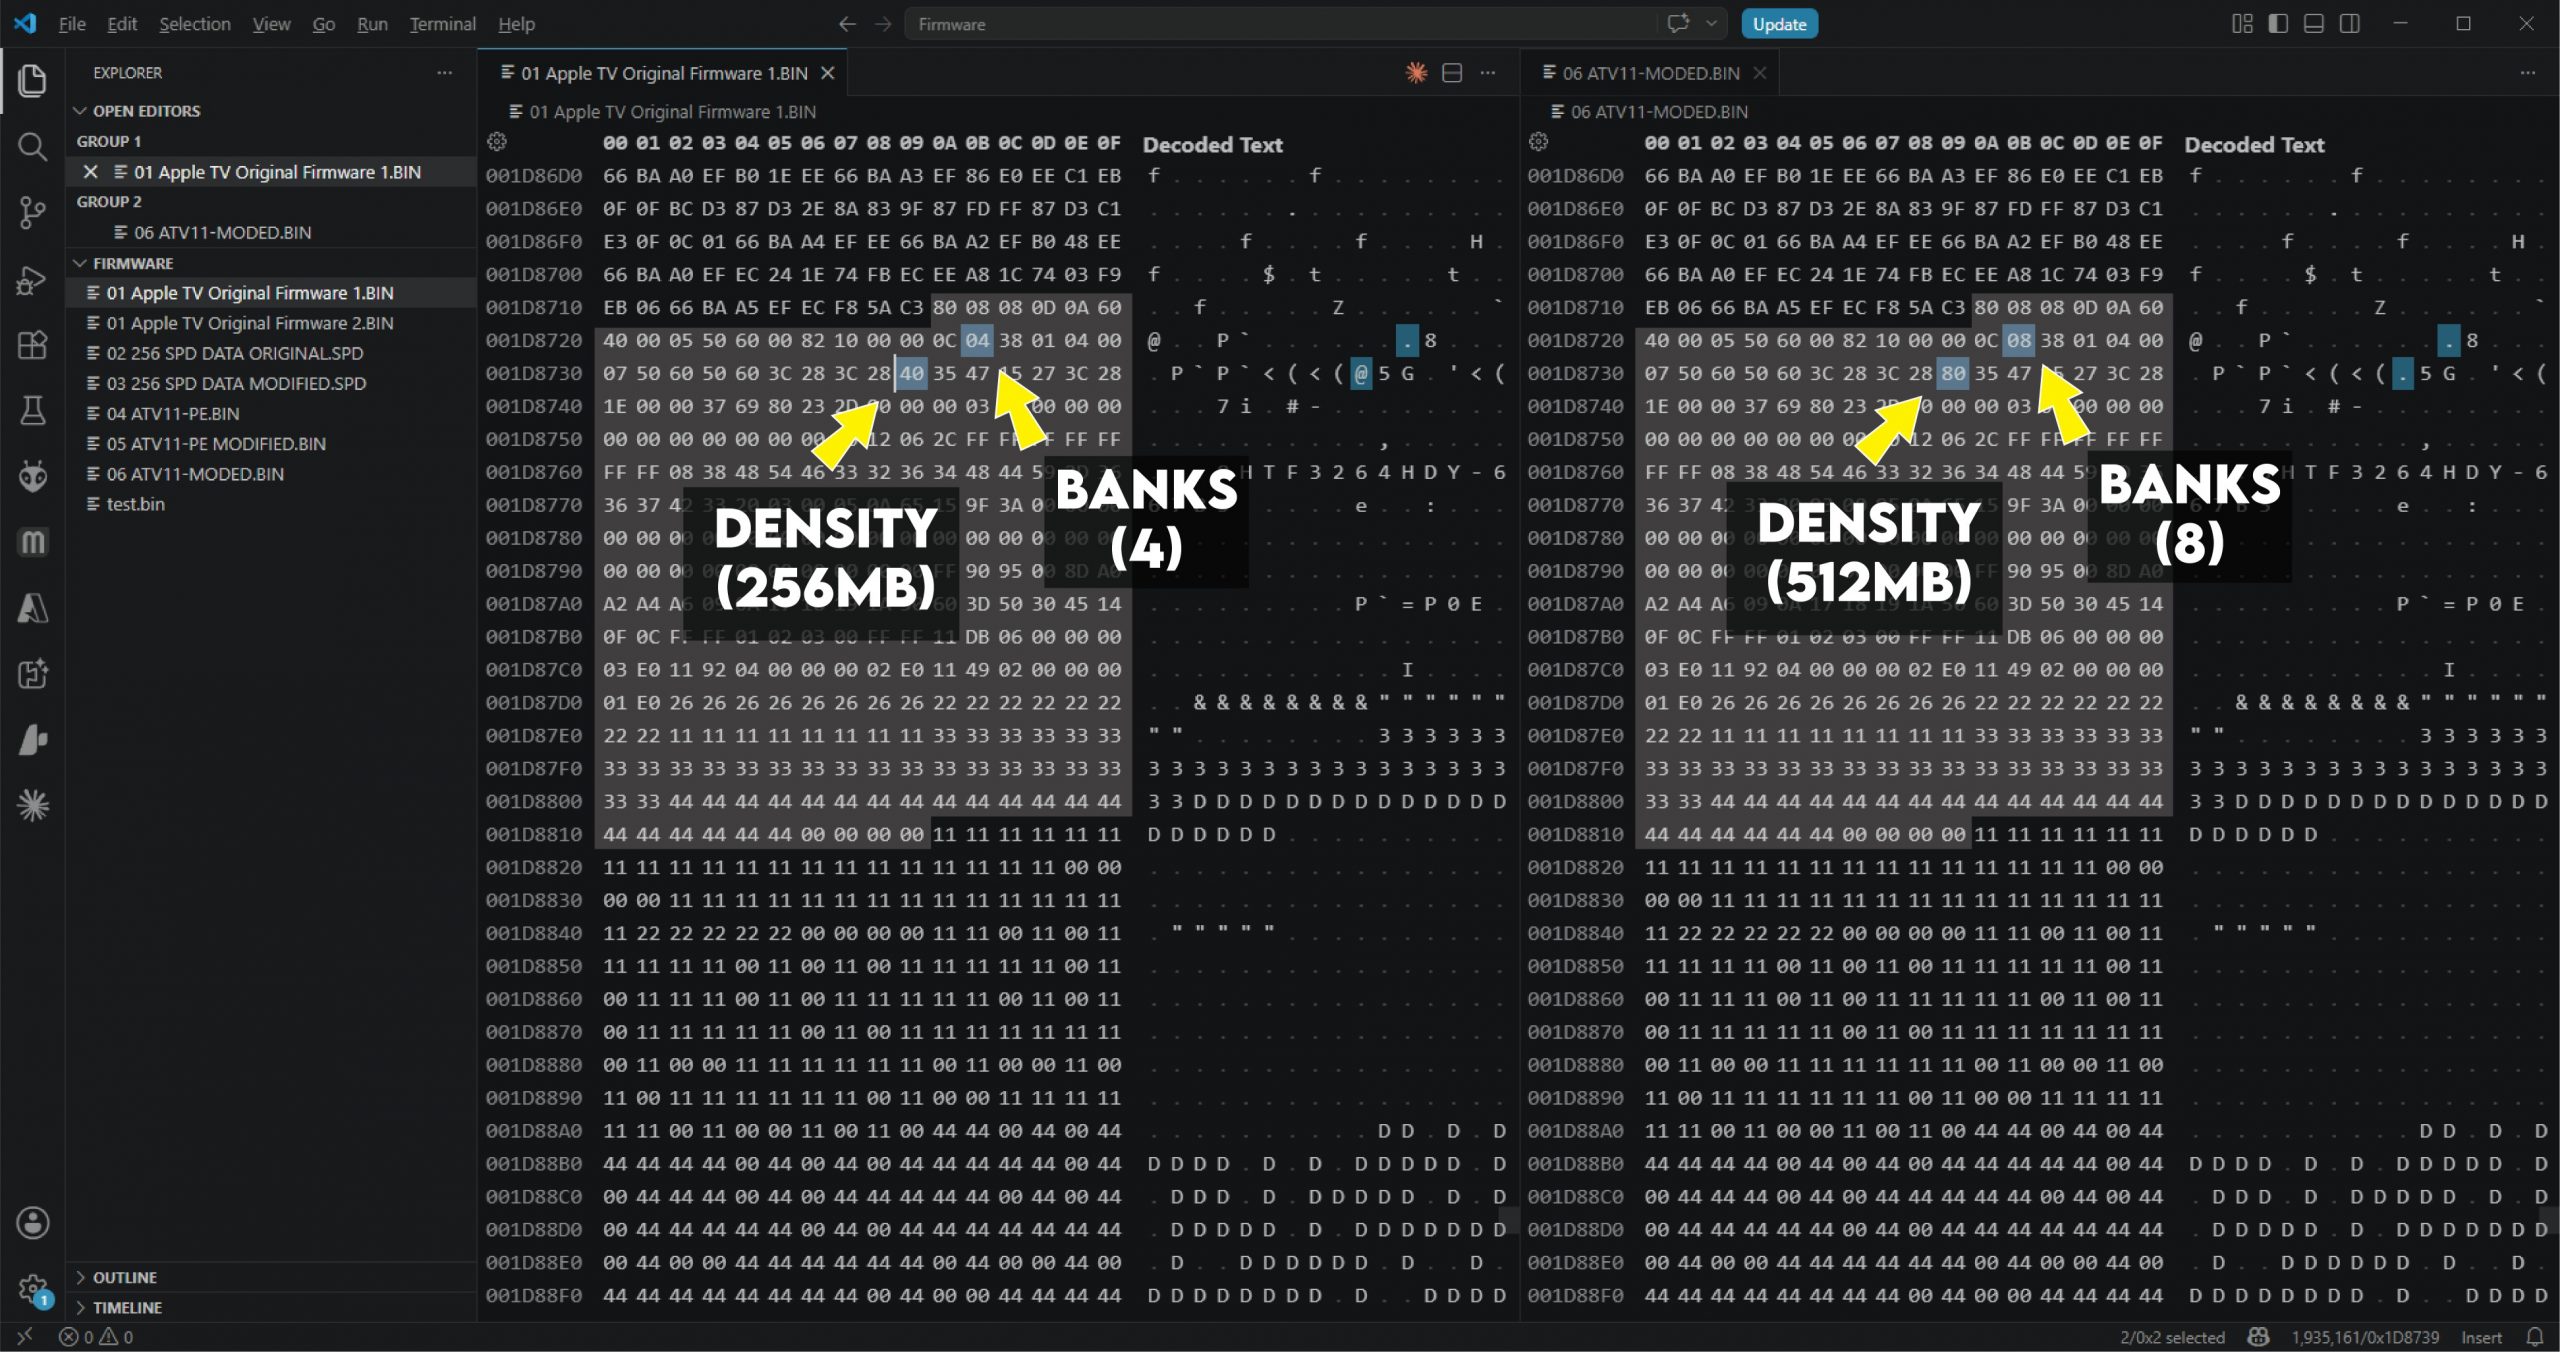
I opened the ROM file in a hex editor and searched for the beginning of the SPD data, 80 08 08 0D. I changed the relevant values for the new RAM modules — the number of banks (8) and density (512).
I wasn’t sure at this point if the internal checksum needed to be recomputed somewhere since I changed these values — spoiler alert, it did not.
Binary Files
| Filename | Size | File MD5 Checksum |
|---|---|---|
| atv-rom-original.bin | 2048KiB | cc658e5970a9cea61bfbc98cb7b2e674 |
| atv-spd-original.spd | 256B | bcc1b79827c20cf668a31063d75e1077 |
| atv-spd-modified.spd | 256B | 39dd79d52502c4c074c5e2cb90a32ad4 |
| atv-rom-modified.bin | 2048KiB | a873f9810738c541f8a3800e0afd36ef |
Modifying the raw HEX values in my ROM file ended up working. I don’t believe internal checksums have to be re-calculated. However, the final file atv-rom-modified.bin above was saved using UEFITool, so the internal checksums should be correct.
I’ve tested both methods and they both work.
Booting With 512MB

Benchmarking
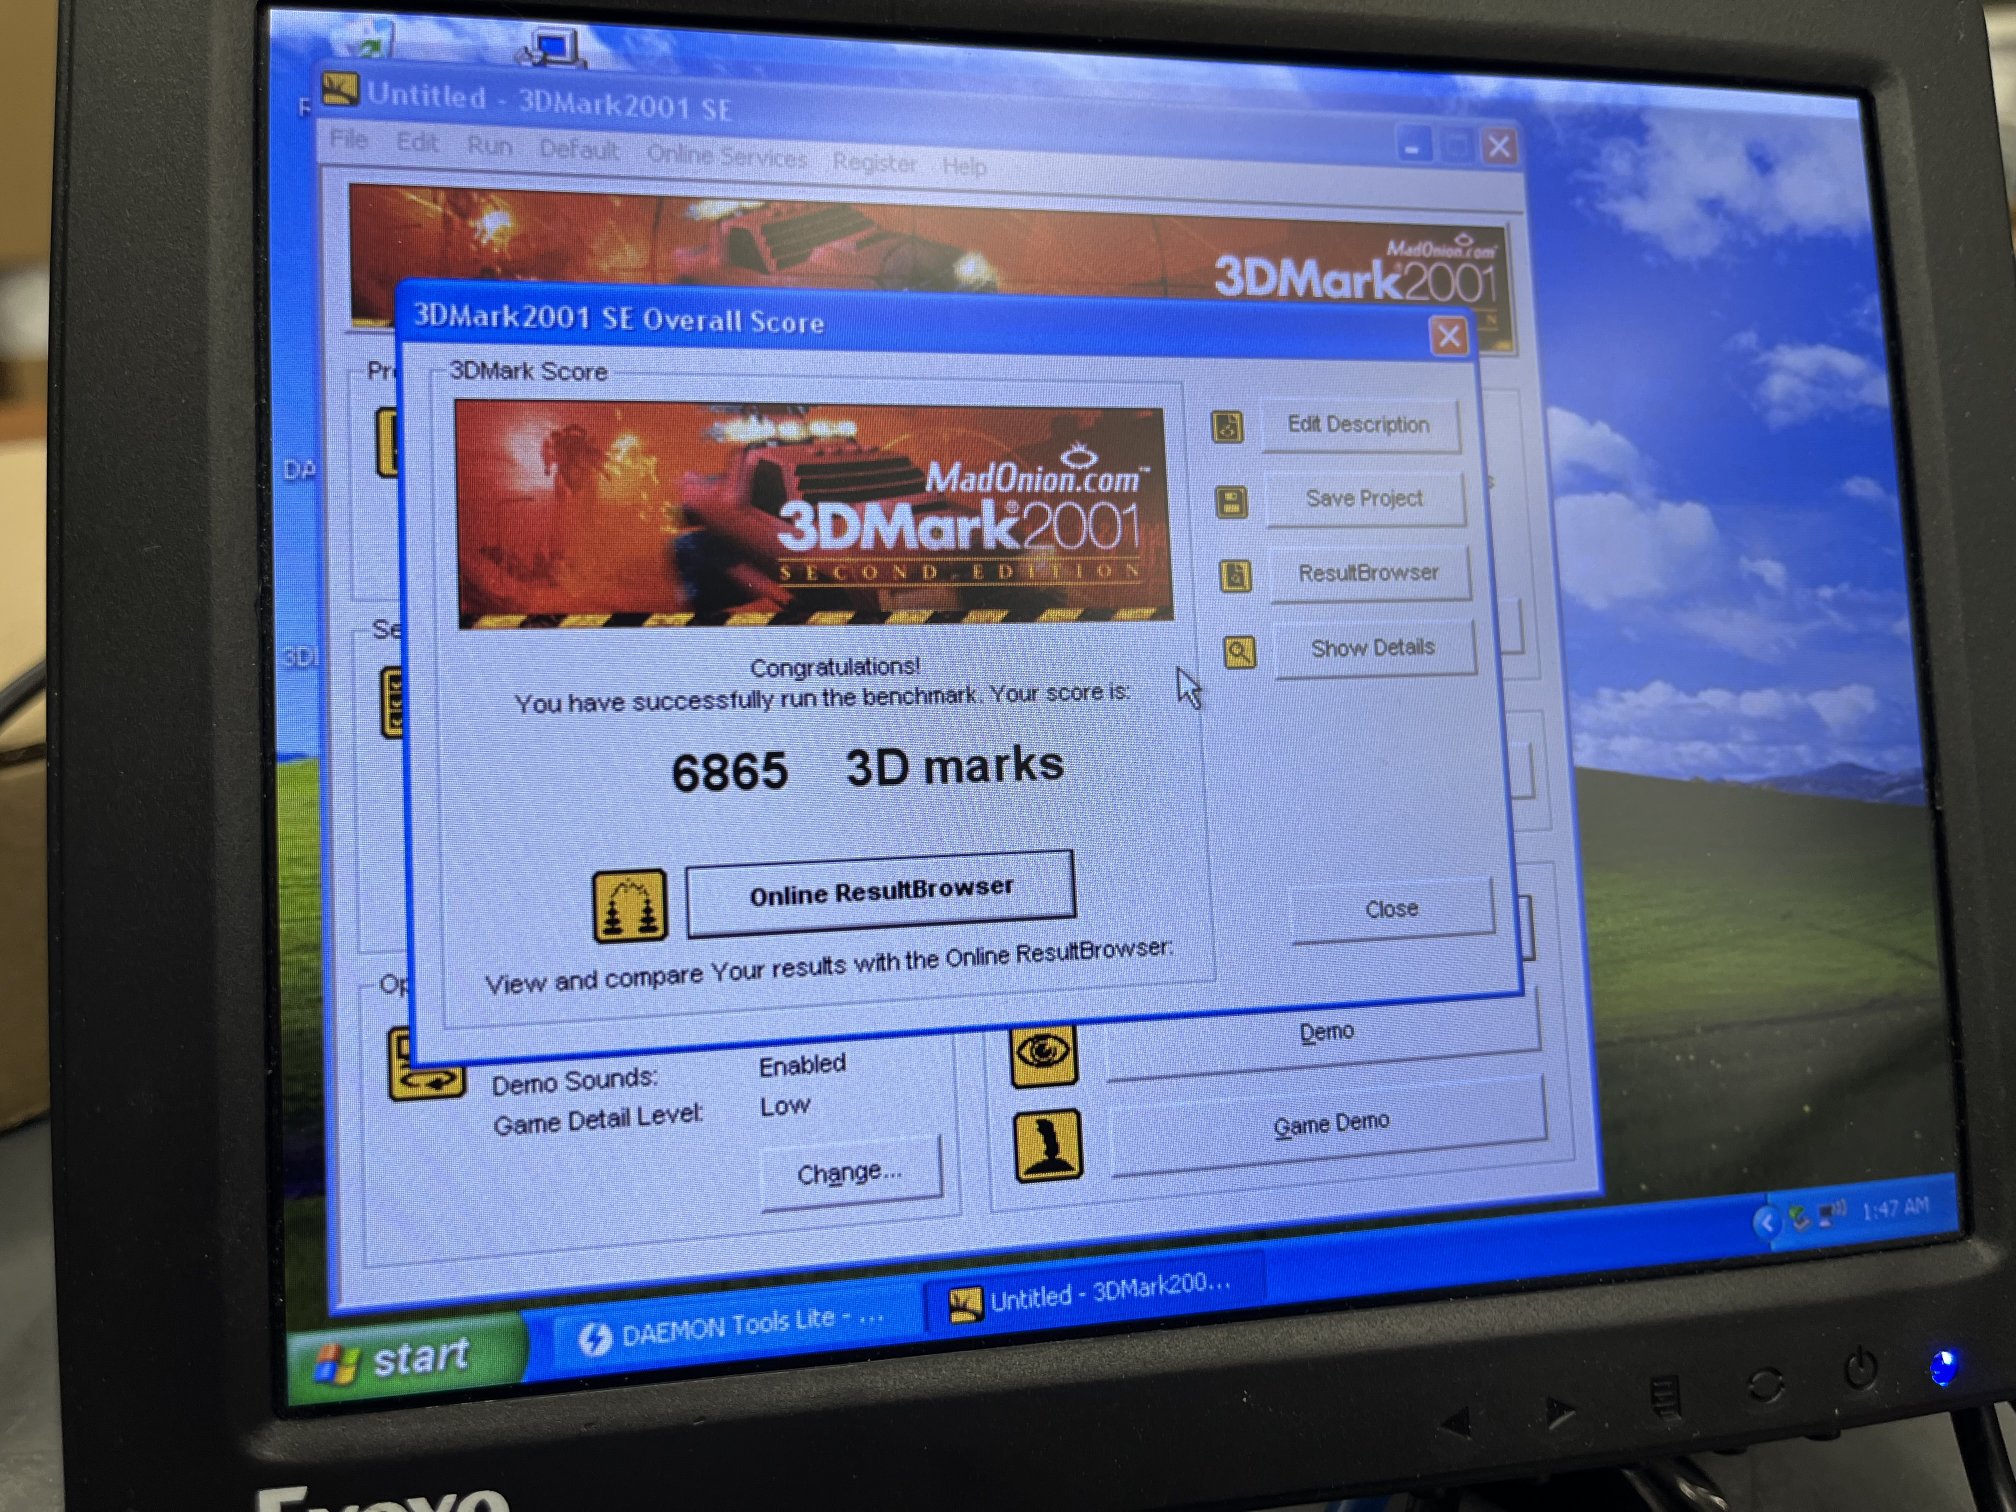
I ran the 3DMark 2001 demo on Windows XP to see if the system was stable. The Apple TV should do okay since it was released a few years after 3DMark 2001.
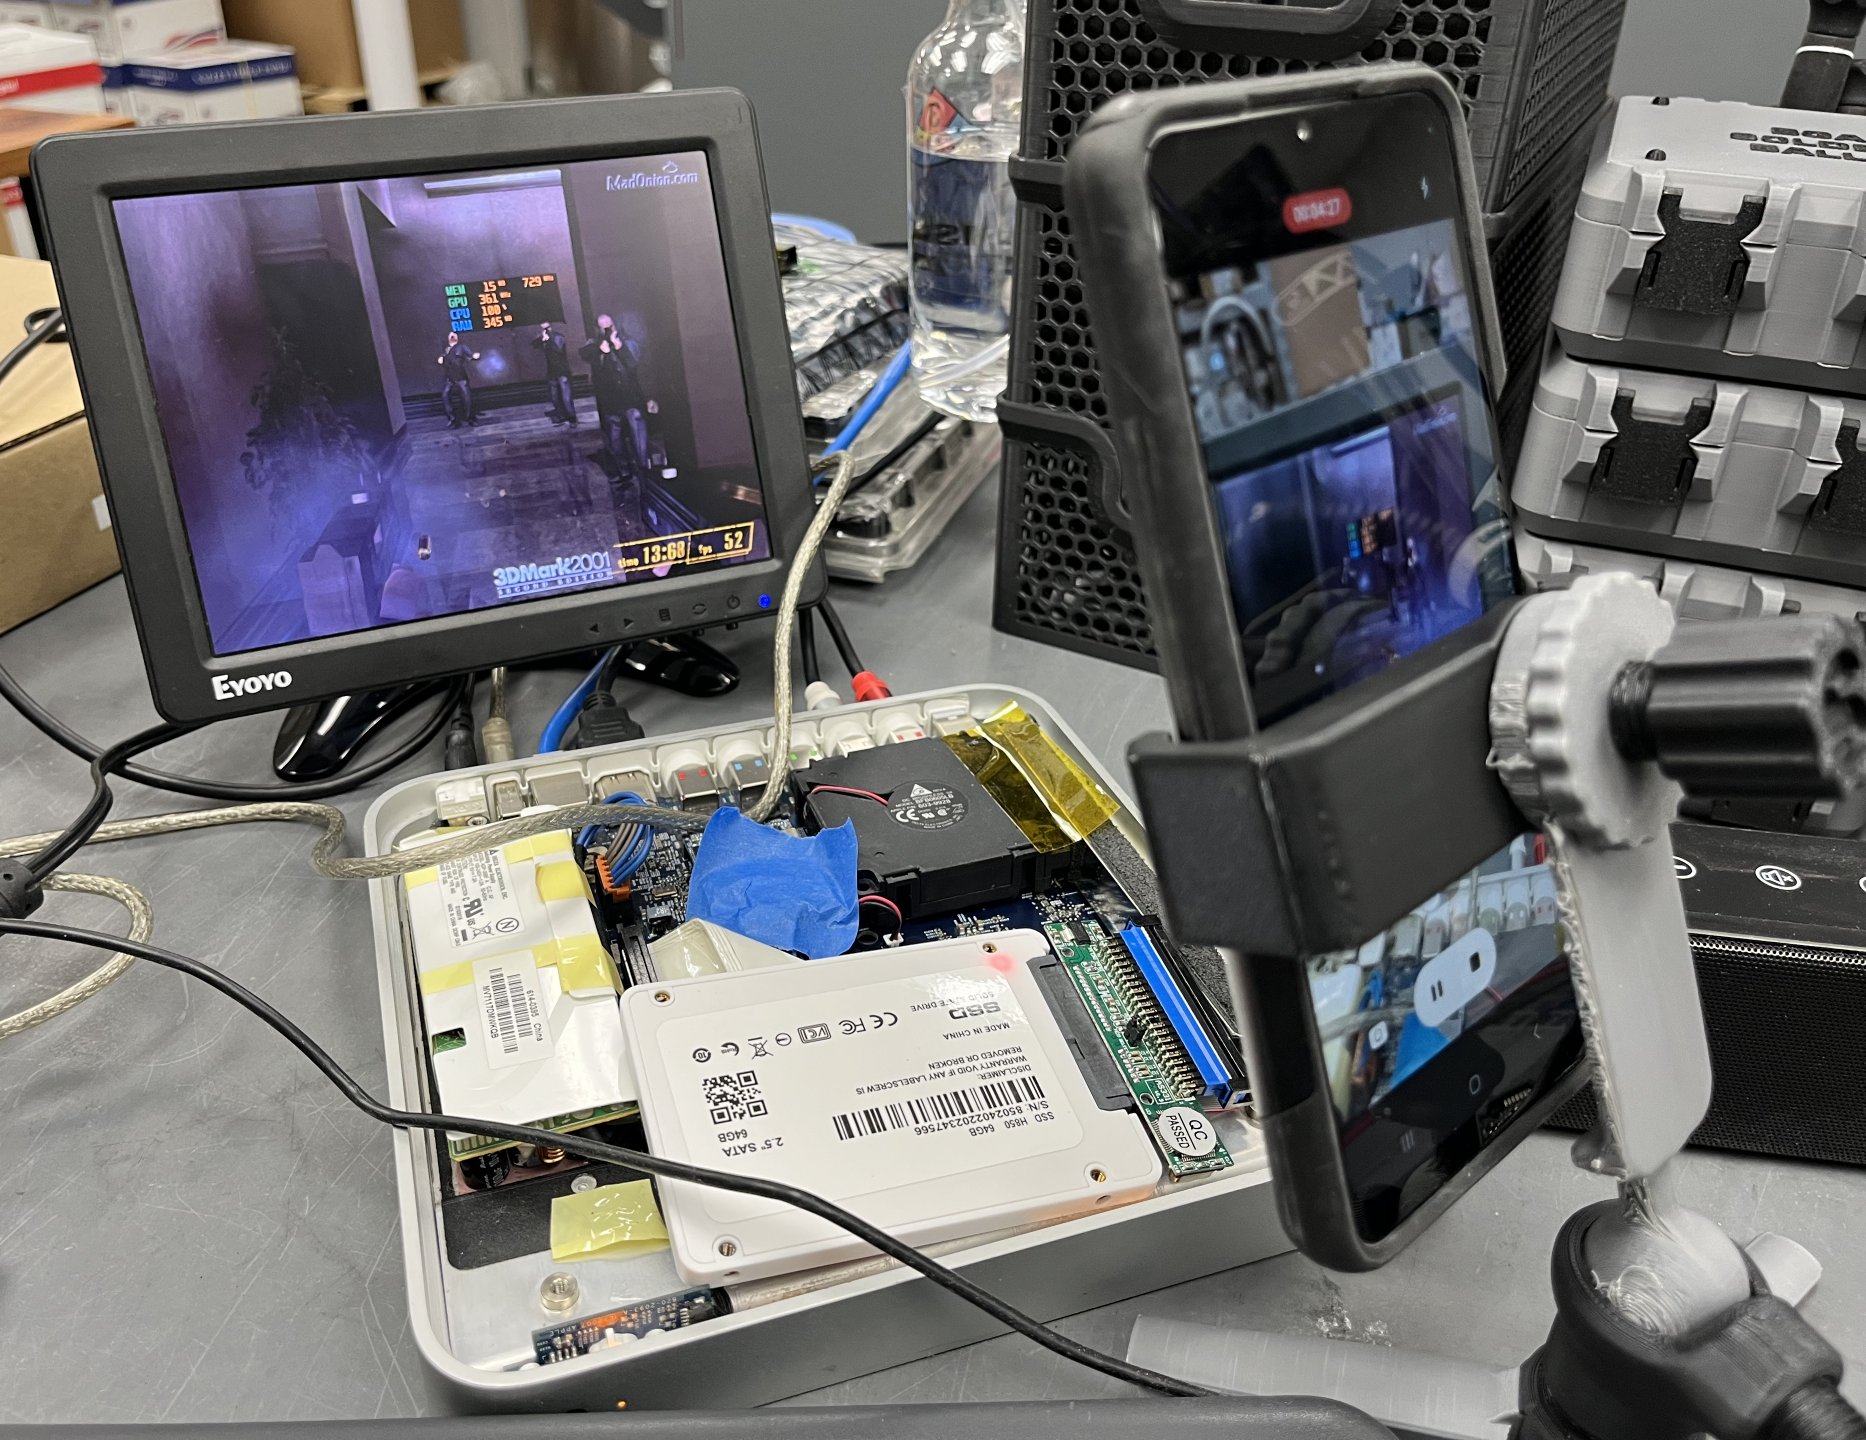
I know it really wasn’t a benchmark. I guess the key takeaway is the system was using close to 400MB of RAM during the tests and did so without crashing. I did run one benchmark, though I don’t think total RAM has that much of an effect.
Final Thoughts
dosdude1 did a great video on this. Without his video, I would have never thought to look for the SPD data on the firmware chip.
I know this isn’t the most practical mod, but I just found it neat. I did this mainly to round out my series on the 1st Generation Apple TV.